Duda Tip: Seamless Row Divider
Did you know that Duda can help you bring outside design elements into your website quickly — no complex coding rewrites required? Today’s tip teaches you how to bring in customized shapes from Photoshop or Illustrator to create fun and interesting dividers between site sections.
A straight line transition between rows can get boring when it's used over and over, so adding an element in between row transitions is a great way to add uniqueness to designs and keep your website from looking bland. Follow these steps learn how to create a divider like this with any design you love:

City skyline
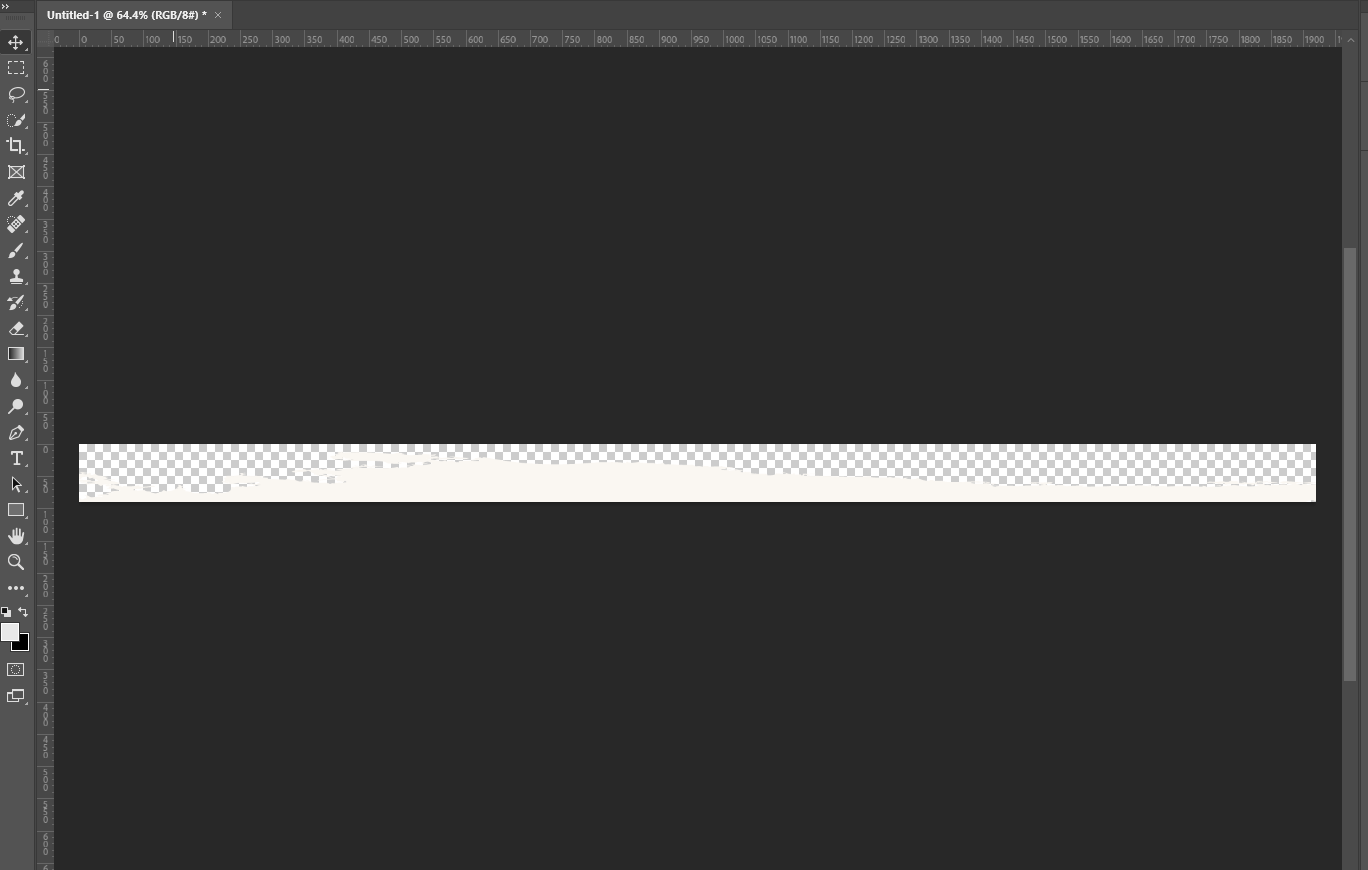
Step 1: Create the design.
Create a shape design to use as a divider. You can do this through Photoshop, Illustrator or any equivalent software. For an alternative shape generator, try the Shape Divider App! Whatever shape you choose, make sure to pick an element with a transparent background.
In this example, we’re creating a shape with a 1920px width and a height of 90px. This element works perfectly because of the transparent background. It allows for a nice fluid transition between the image and the overlaid element. Once you’ve finalized your design, save and export it. It’s time to head to Duda.
City skyline
Step 2: Create two sections.
In the Duda editor, create two separate sections on your webpage.

City skyline
Step 3: Add a row between them.
Next, add an empty row between your two sections.

City skyline
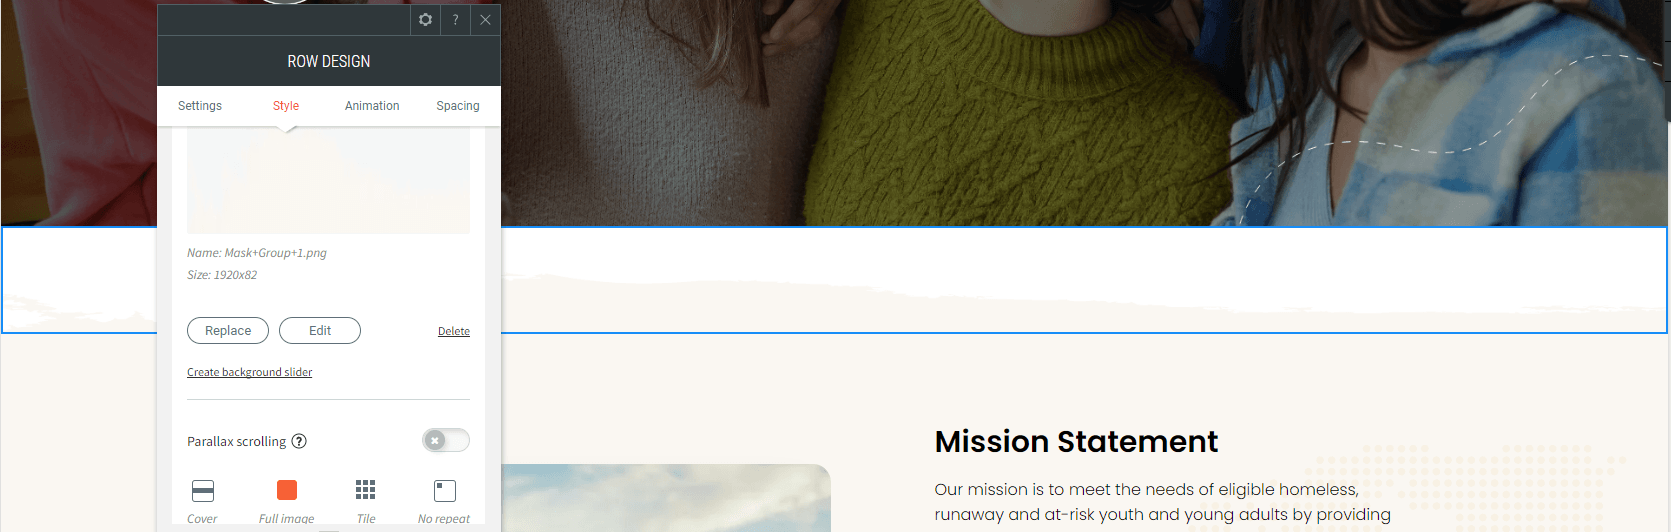
Step 4: Upload your divider.
In the empty row, upload the created design you’d like to use as a divider. Use it as a background image, and make sure to select the
full image
as your background size.
City skyline
Step 5: Adjust the height.
Next, add a spacer and set the height value used on the image canvas. In this case, our height has already been set to 90px.

City skyline
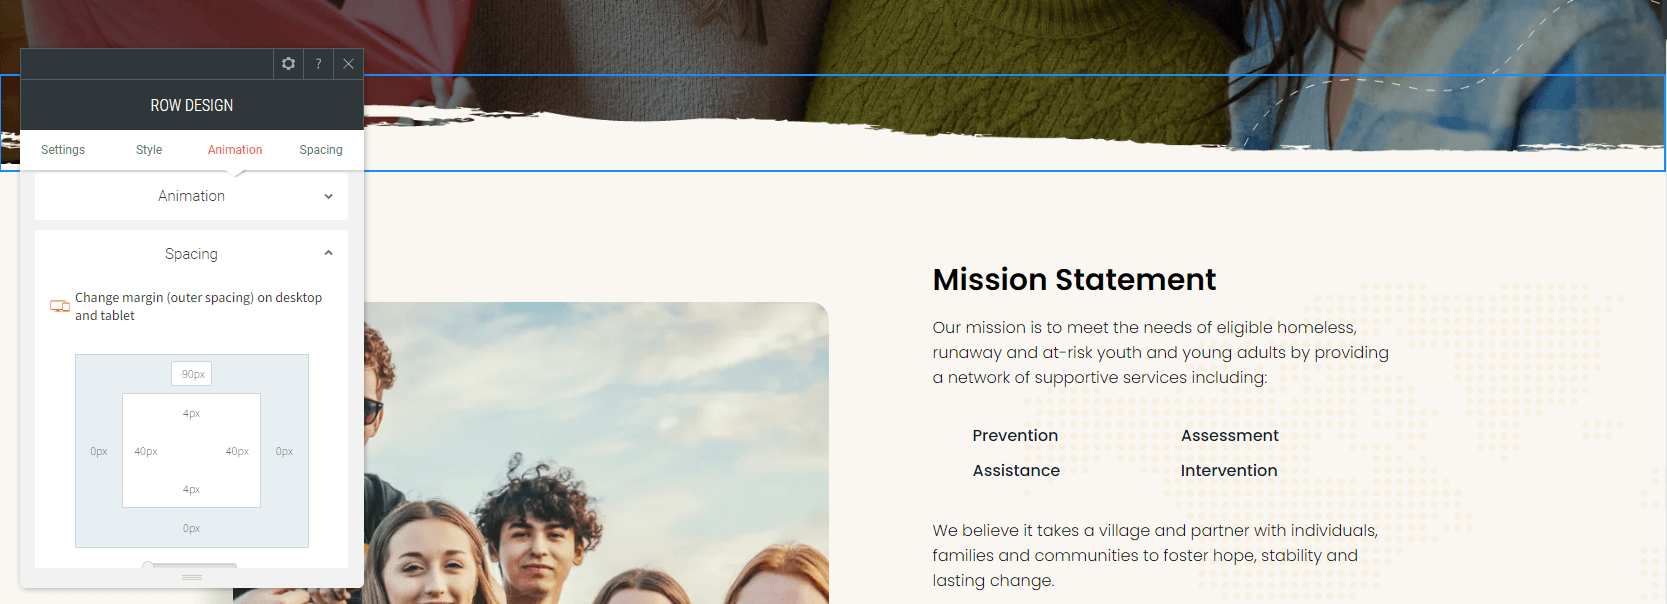
Step 6: Adjust the spacing.
Finally, select the row section you’ve just created and navigate to the spacing. Set the top margin as the height value of the canvas –
but with a negative value. In our example, the margin should be -90px.
City skyline
That’s it! In 6 simple steps, your website has customized design overlap. No boring dividers around here! Repeat as needed with various design elements to diversify your site visuals.