Duda Tip: Adding a Hover Effect
In this Duda Tip, we will show you how to create a hover effect! If you want to add interactive flair to your website, a hover effect is a must-do. It can help you highlight crucial information or make your site more visually appealing by aiding user interaction. Check out how with the easy steps below, or check out this video to watch each step in real time.
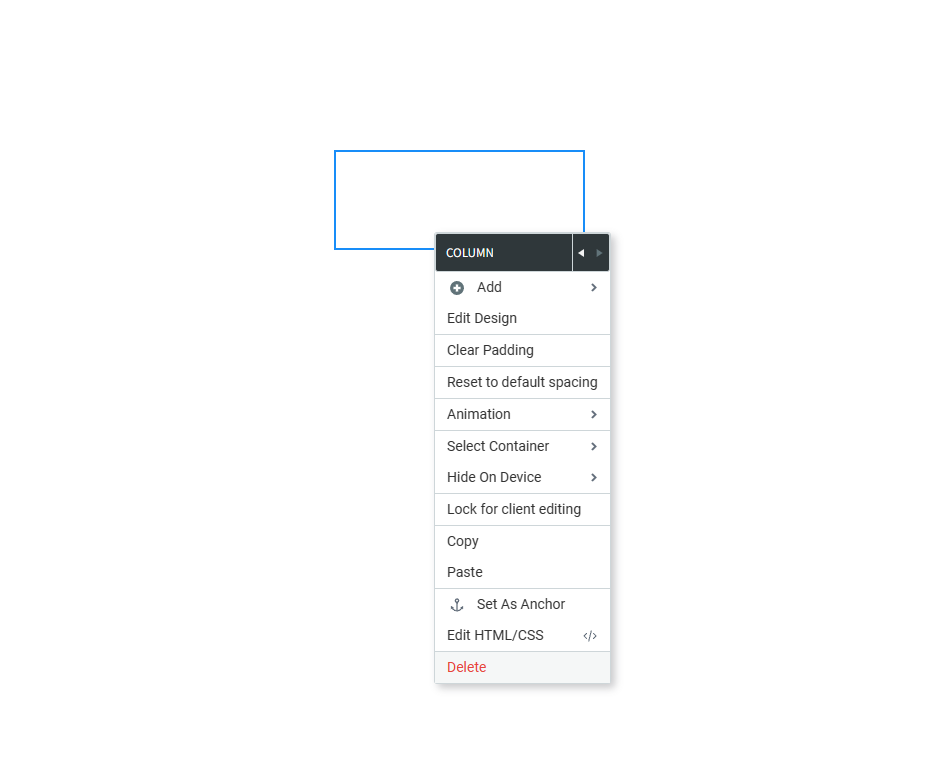
Step 1: Add a Column
On an empty row, add a column.
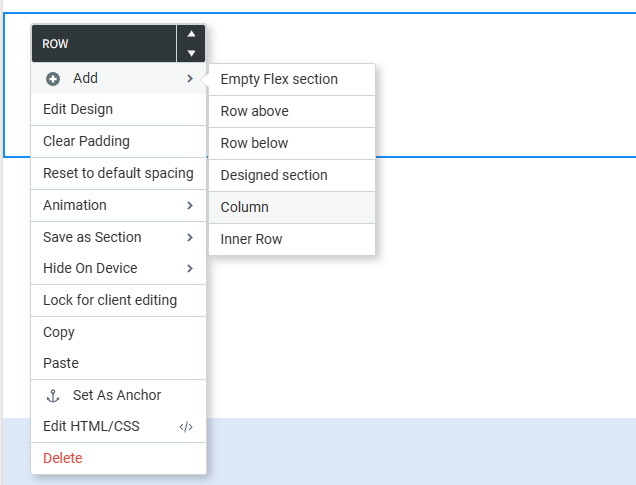

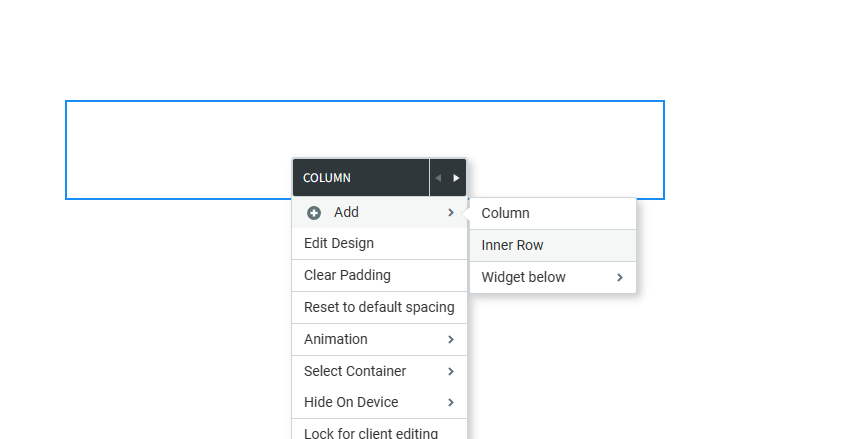
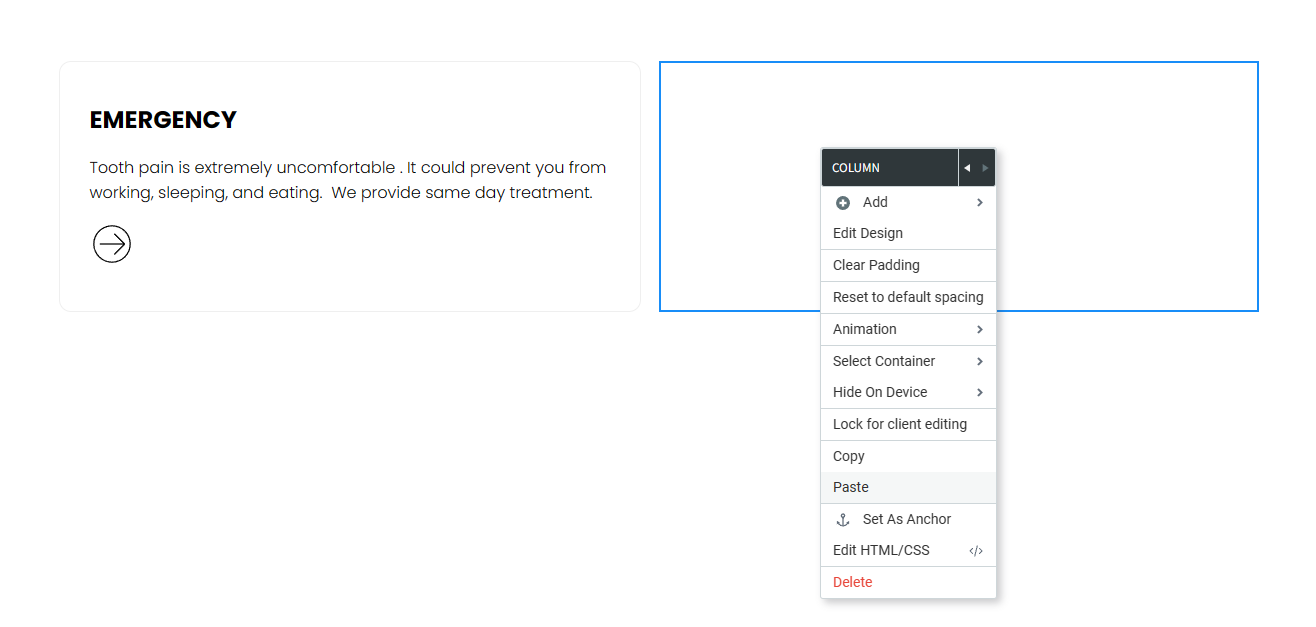
Step 2: Add an inner row.
Right-click on one of the empty columns and add an inner row.
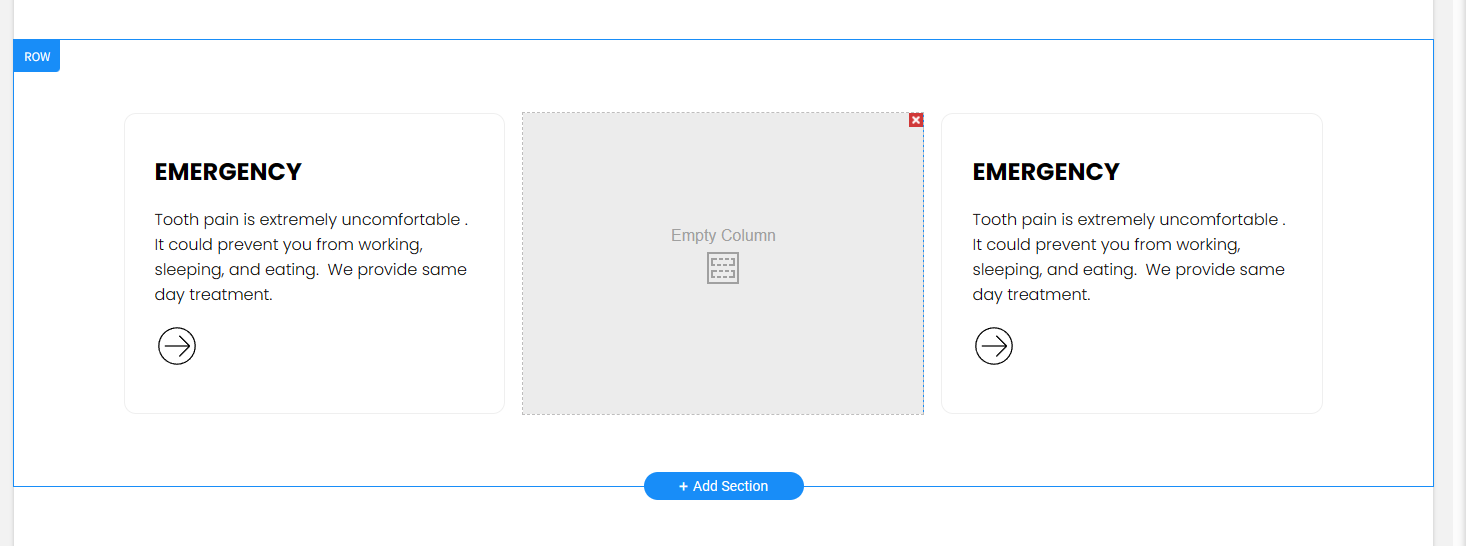
Step 3: Remove the second inner column.
Click the x on one of the inner columns to delete one.

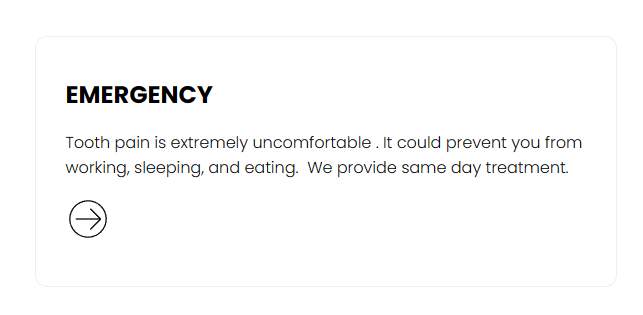
Step 4: Make the inner row your own.
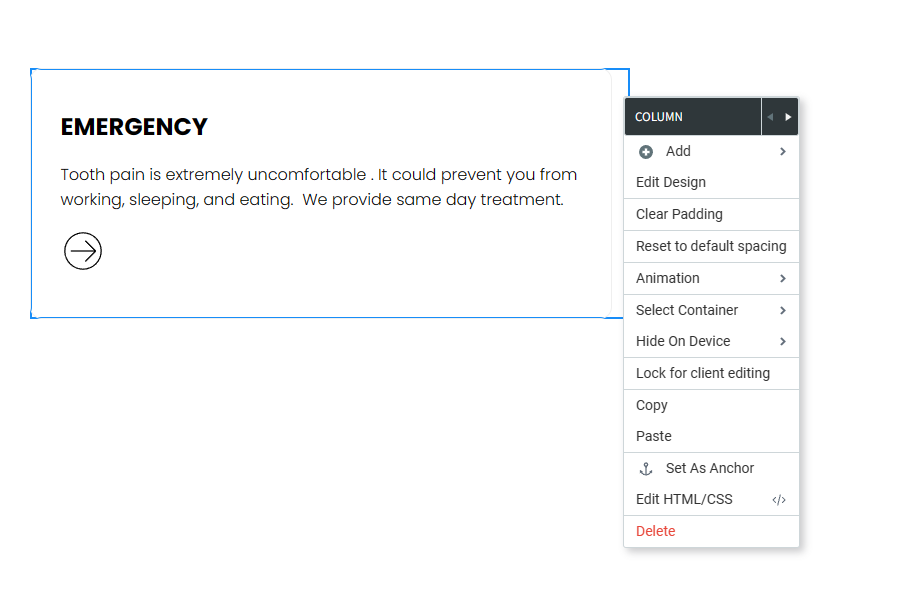
Add your content and style to the inner row. In our case, we added text, an icon, and a border. It should look something like this:
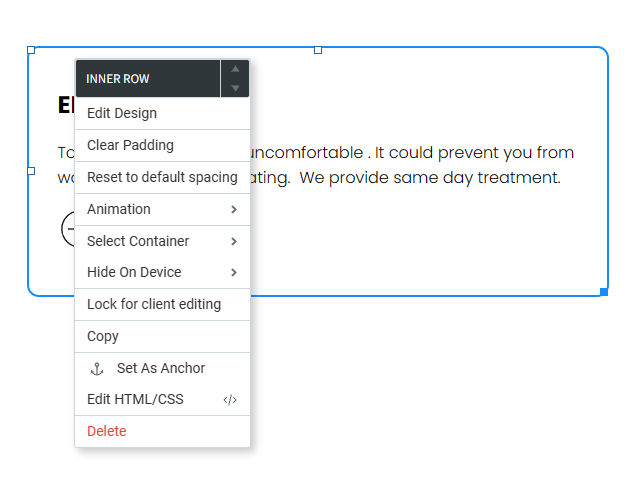
Step 5: Edit the inner row's HTML/CSS.
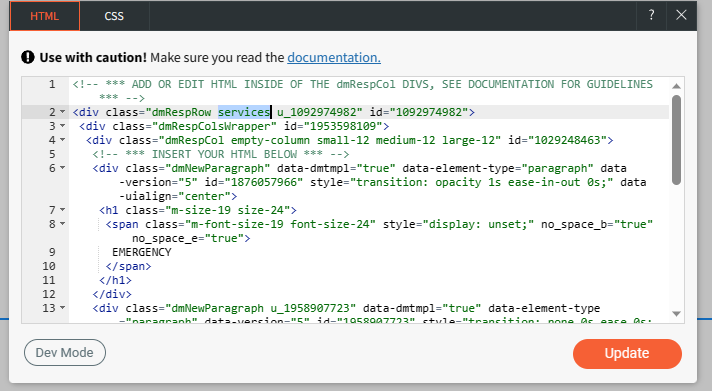
Next, to the fun part! Select the inner row, and edit its HTML/CSS to add the class we will use to create the hover effect.
Step 6: Add the class.
We will call this class "services", and add it right to the very start of the first block, and then update.
Step 7: Add the CSS magic!
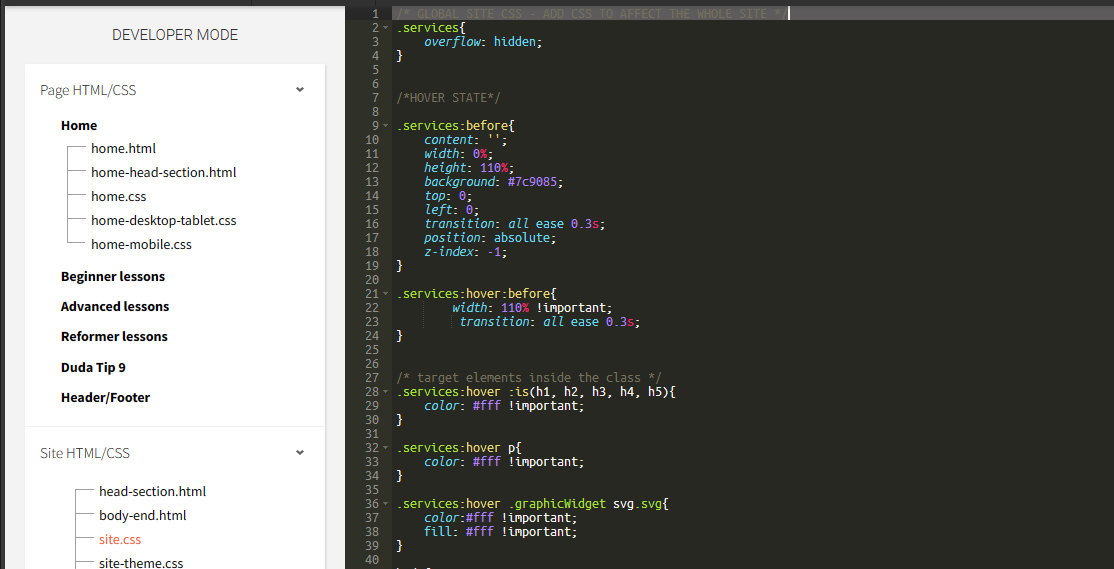
Now, open Developer Mode, under Site HTML/CSS, go to site.css, and paste the code below. You can change the style of the hover effect to your liking by editing this CSS snippet.
.services{
overflow: hidden;
}
.services :is(.dmNewParagraph span, svg){
z-index: 2;
position:relative;
}
/*HOVER STATE*/
.services:before{
content: '';
width: 0%;
height: 110%;
background: #9F5EA2;
top: 0;
left: 0;
transition: all ease 0.3s;
position: absolute;
z-index: -1;
}
.services:hover:before{
width: 110% !important;
transition: all ease 0.3s;
}
/* target elements inside the class */
.services:hover :is(.dmNewParagraph span){
color: #fff !important;
}
.services:hover p{
color: #fff !important;
}
.services:hover .graphicWidget svg.svg{
color:#fff !important;
fill: #fff !important;
}
Check out these notes regarding the animation added using pseudo-elements for the hover state if you wish to customize your hover animation.
In .services:before we used "left:0" which means this will be the initial position of the hover animation. You could use "right:0" instead to start from the right side.
If you want to start at the top or bottom instead, you'll need to change some of the code.
- To start at the top, just swap out the height and width values and use "top:0" where the animation should start.
- To start at the bottom, just swap out the height and width values and use "bottom:0" where the animation should start.
You can also control the speed of the animation using the transition property. In transition, the higher the number or time, the slower it will finish, so just change the time to whatever seconds suit your needs. In our example, we use "transition: all ease 0.3s;" meaning the animation will finish at 0.3 seconds.
To learn more about the use of pseudo-elements to add or customize a hover animation, check out this resource.
.services:before{
content: '';
width: 110%;
height: 0%;
top: 0;
background: #9F5EA2;
left: 0;
transition: all ease 0.3s;
position: absolute;
z-index: 1;
}
.services:hover:before{
height: 110% !important;
transition: all ease 0.3s;
}
Please note that the target class may vary depending on the element inside the container. In our example, we have a heading, a paragraph, and an SVG for the button so those are the elements we targeted to make them change color on hover. If you add more elements on the front end, you'll also need to add those on dev mode for the hover effect to work.
Step 8: Save and close.
You now have a default state and a hover state.
Step 9: Duplicate your blocks.
Now you can duplicate the blocks for all of your services. Just right-click on the column (not the inner column), copy, and paste on the empty column next to the one you created.
Note that a maximum of 4 columns is allowed on a row in Duda. Feel free to delete the center blank column, if needed.
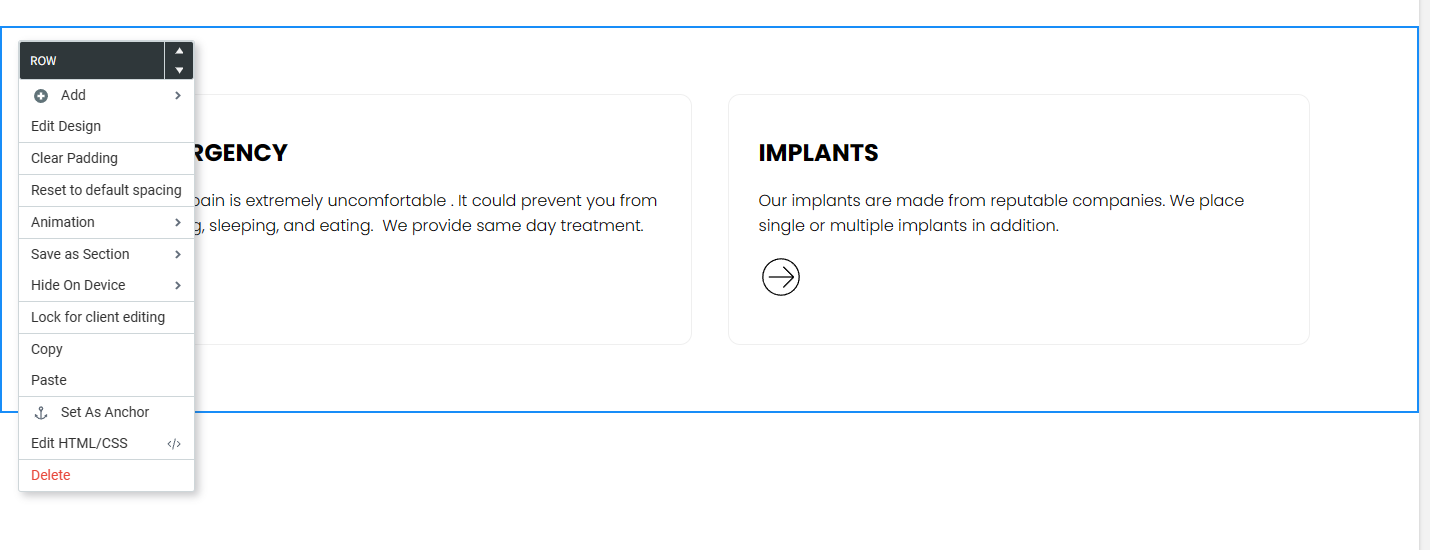
Step 10: Duplicate your row.
You can also duplicate the entire row if you need to add more by copying and pasting the whole row.
There you have it! An easy-to-do tip to increase interactivity on your site. Try it out and show us what you create!