Duda Tip: Adding Icons to Form Fields
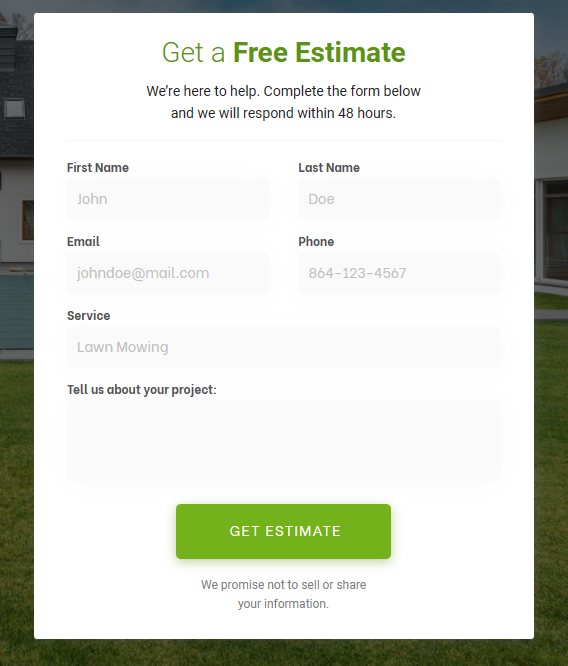
Today, we are going to step up our game when it comes to forms. Check out the finished form at Rotary Control Lawn Services. There you will find a custom form that includes added icons in each form field to improve the overall user experience. This small but significant change makes it easier for users to understand and navigate the form fields.
Here’s how the customized form looks on their site after adding the icons:

This Duda Tip demonstrates an easy upgrade for businesses using forms as their call to action. By adding icons to each form field, potential customers can fill out forms more accurately with the aid of the icon to clearly label each form field. Want to do the same on your site? Let’s get started! You can follow the instructions below to implement this Duda tip on your site or check out this video to watch each step in real time.
Step 1: Add Fontawesome.
First, we will add Font Awesome's style sheet to our website in order to use their icons. Millions of designers, developers, and content creators use Font Awesome, the internet's icon library and toolkit. You can learn more about Font Awesome here. To add the style sheet, first copy the code snippet below.
<link rel="stylesheet" href="https://cdnjs.cloudflare.com/ajax/libs/font-awesome/5.6.0/css/all.css" integrity="sha512-z2kebVhgyJep2BVZe+e7Fcl3IQNSZalCrcAEb2Rge/m9ONeaxSIhUkVkxOd4XwJ38RKJ56oFf/XxeVOtYGFNLw==" crossorigin="anonymous" referrerpolicy="no-referrer" />
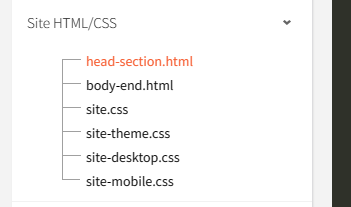
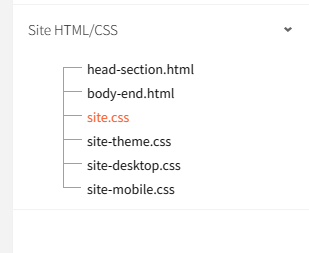
Then head over to Developer mode, Site HTML/CSS, and paste it under head-section.html. Save and close developer mode.

Step 2: Add a form.
Add a contact form widget and style it for your website.
Step 3: Choose your first icon.
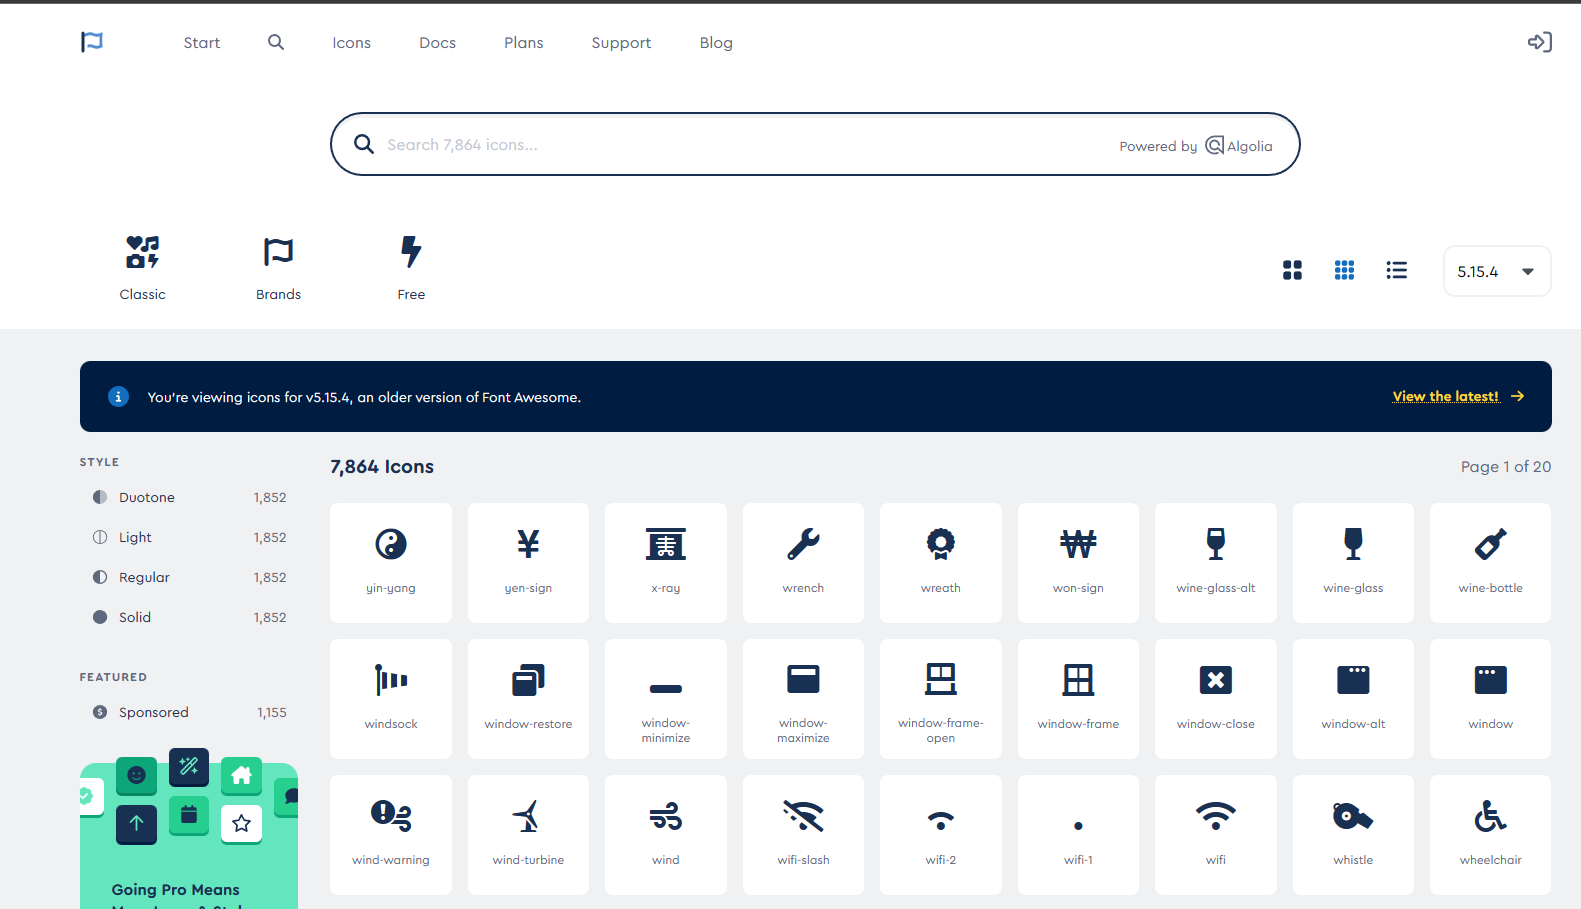
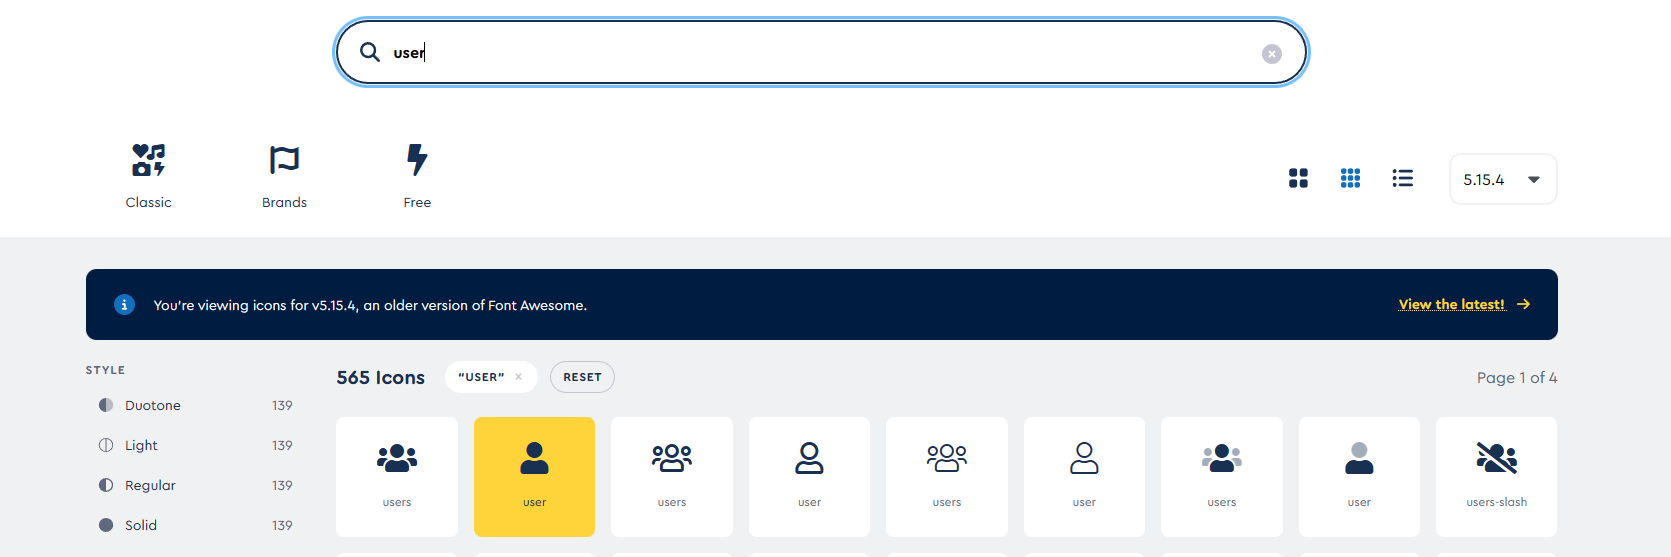
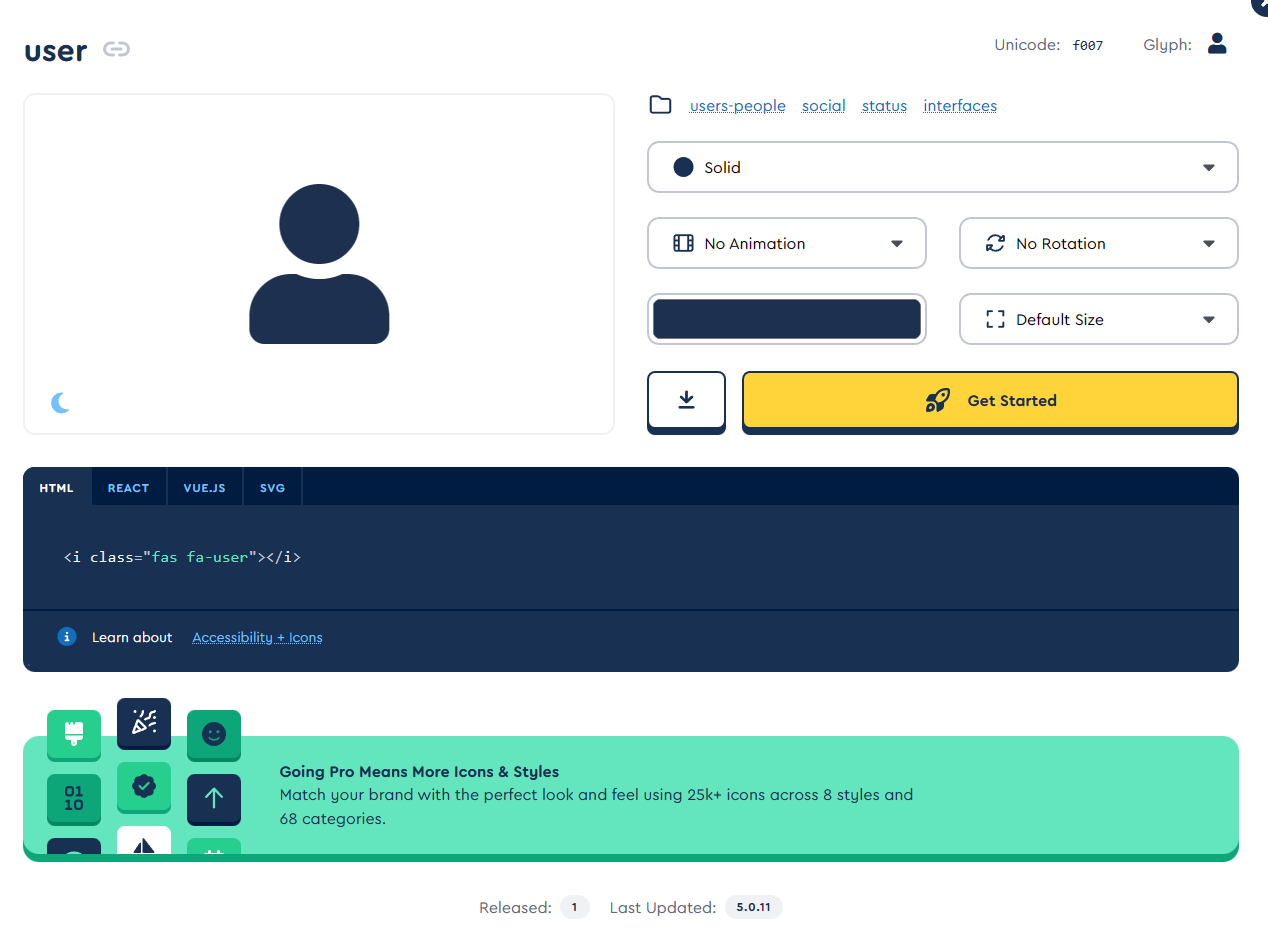
Now find the first icon you'd like to use on your form using the search function in Font Awesome.
For our Duda Tip, we chose the User icon. Select the icon.
Next, hover and click on the HTML tab and copy the code.
After copying the code, head back to Duda.
Step 4: Add your first icon.
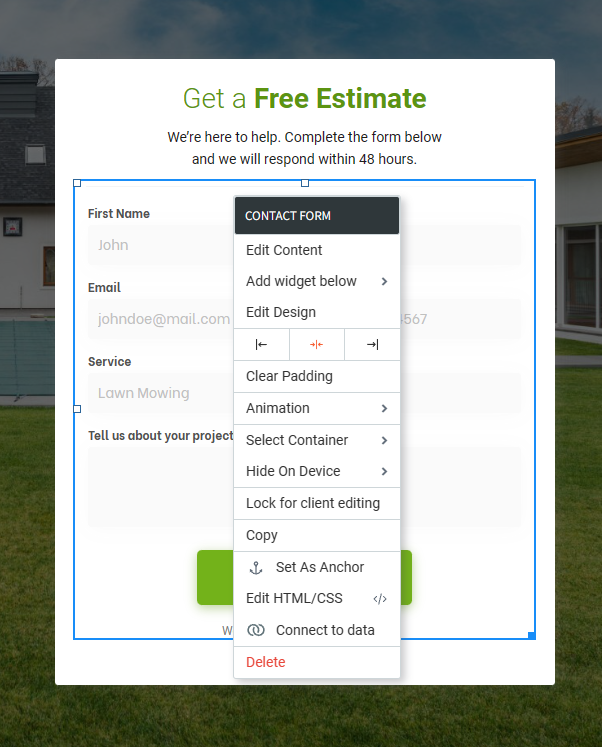
Right-click on the form and select Edit HTML/CSS.
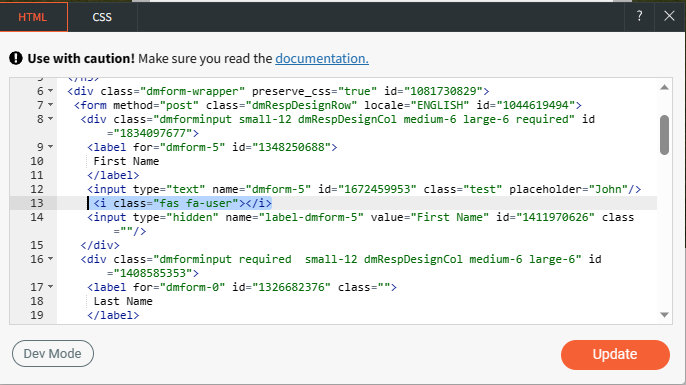
Paste the copied code just right after the input tag where you want to put the icon, in our case, it's the First Name field, and update.
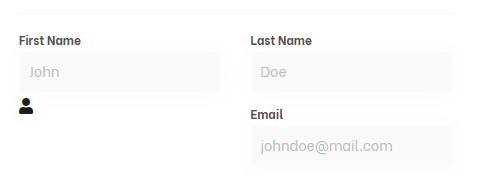
Your form will look like this. No worries, let's get it fixed.
Step 5: Customize your icon position.
Open Developer Mode, under Site HTML/CSS, and select site.css.
There, paste the following code snippet.
.dmforminput i
{
position:absolute !important;
left:23px !important;
top:34px !important;
color:#ccc !important;
font-size:14px !important;
border:none !important;
}
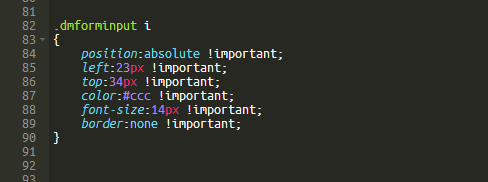
The result may vary so adjustments on size and position are needed to get the result you need. Feel free to adjust the code as needed.
Since we are using placeholder text in our fields, let's adjust the form input padding.
Go back to Developer Mode, under Site HTML/CSS, select site.css, and paste this code snippet.
div.dmInner input[type="text"],div.dmInner input[type="email"],div.dmInner input[type="number"],div.dmInner input[type="tel"],div.dmInner input[type=password],div.dmInner select, div.dmforminput textarea
{
padding-left:30px !important;
}

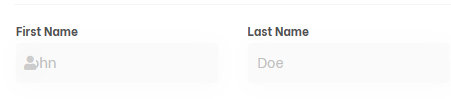
Your form should look more like this, as we added padding to the left of the text.

Step 6: Find the rest of the icons.
Go back to Font Awesome and find the rest of the icons you'd like to use. Once you have them selected make sure to copy the HTML code for each one.
For the rest of our form, we are going to use the following:
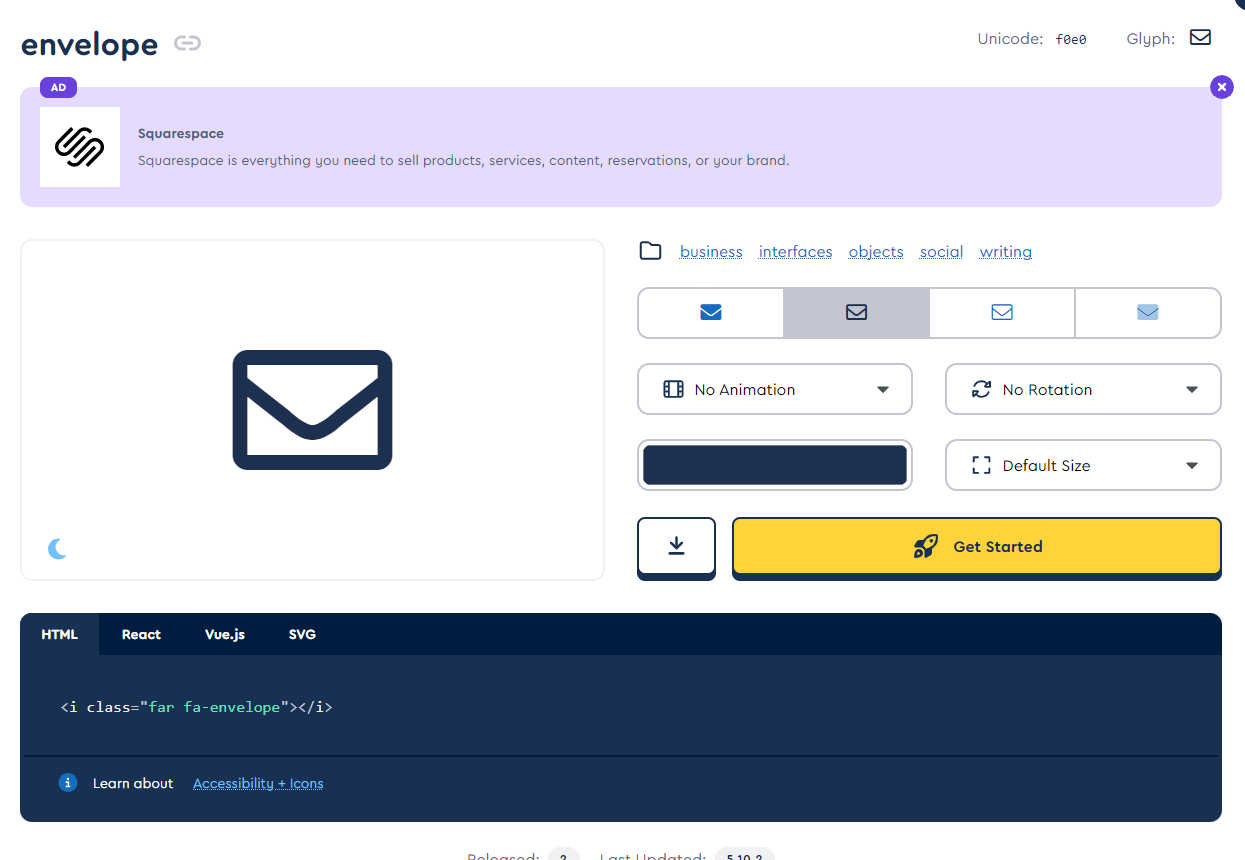
<i class="far fa-envelope"></i>
<i class="fas fa-mobile-alt"></i>
<i class="far fa-comment-dots"></i>
Step 7: Add the rest of the icons to your form.
Right-click on the form and select Edit HTML/CSS. Paste each copied code just right after the input tag where you want to put each icon, in our case, we are adding one to Last Name, Email, Phone, and Service. Check those out below for your reference. Then hit update.


And there you have it! Your finished product should look something like the form below. A custom form with icons to help your users identify each form field and aid your form labels.