Duda Tip: Adding a Journey Element
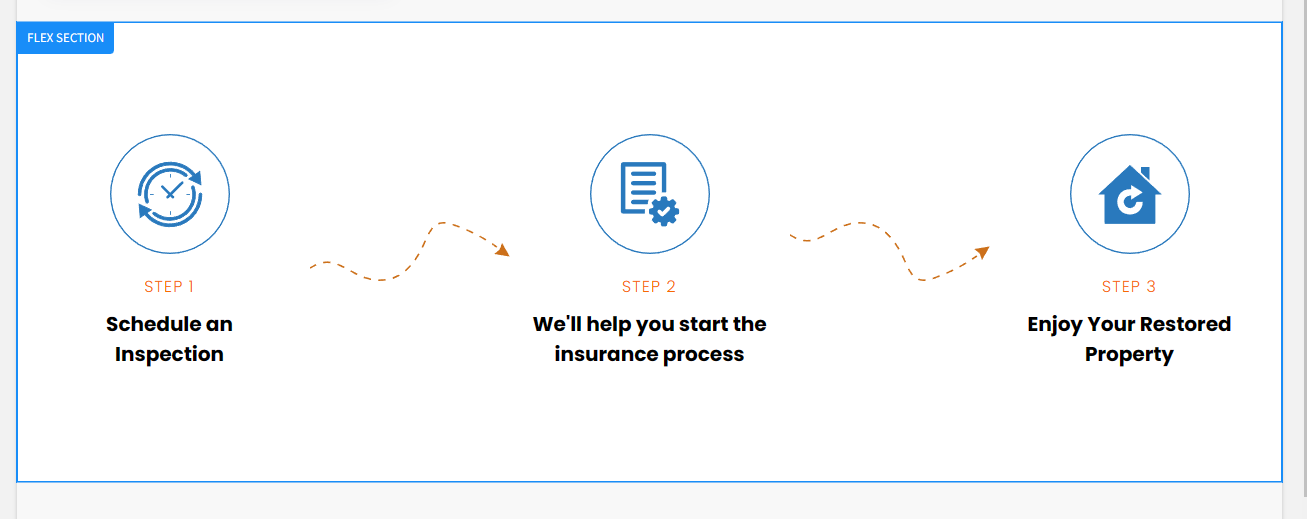
Want to walk your website viewers through a step-by-step process? Adding a journey element to your site with DudaFlex can make your instructions seamless and simple — and the process will look good, too! This design element is a great way to highlight your services at a high level and help new clients know what to expect when they work with you. Our client True North Restoration used this Duda Tip to walk potential customers through their company process. Their final result looked like this:

Want to do the same on your site? Let’s get started! You can follow the instructions below to implement this Duda tip on your site, or check out this video to watch each step in real time.
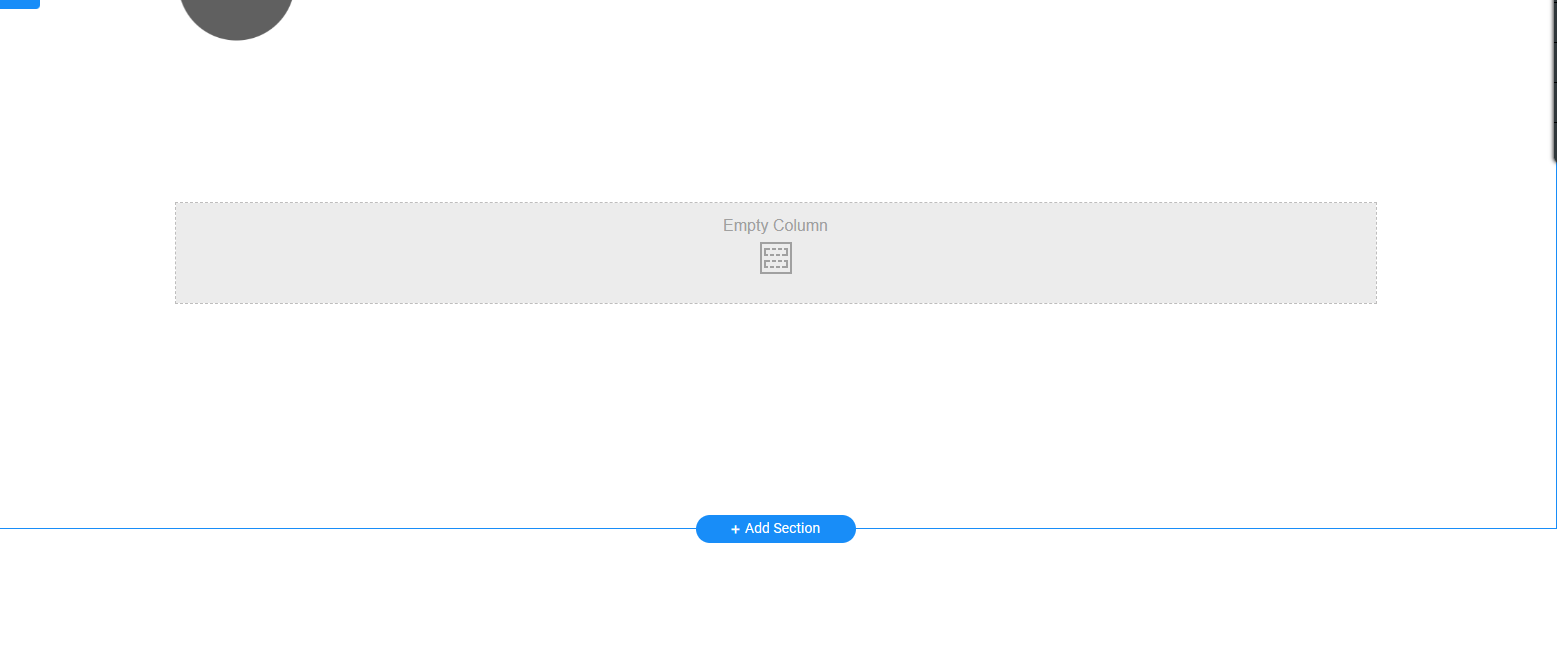
Step 1: Add a new section to your site.
Once your graphic assets are prepared and ready, it’s time to build the journey! To add a section to your site, just hover over an existing section and you’ll see the “add section” button pop right up.
Step 2: Add your first Flex section.
Once you’ve opened up your new section for editing, select “Flex Sections.”
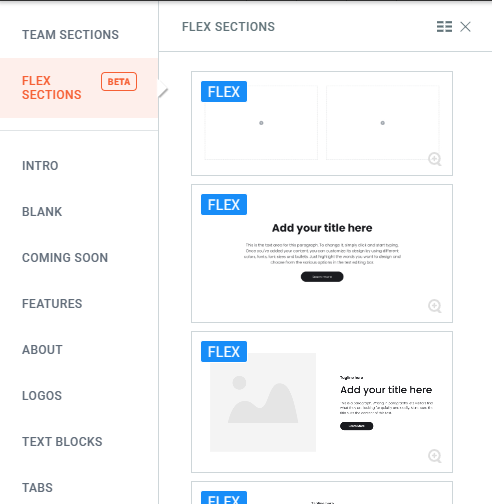
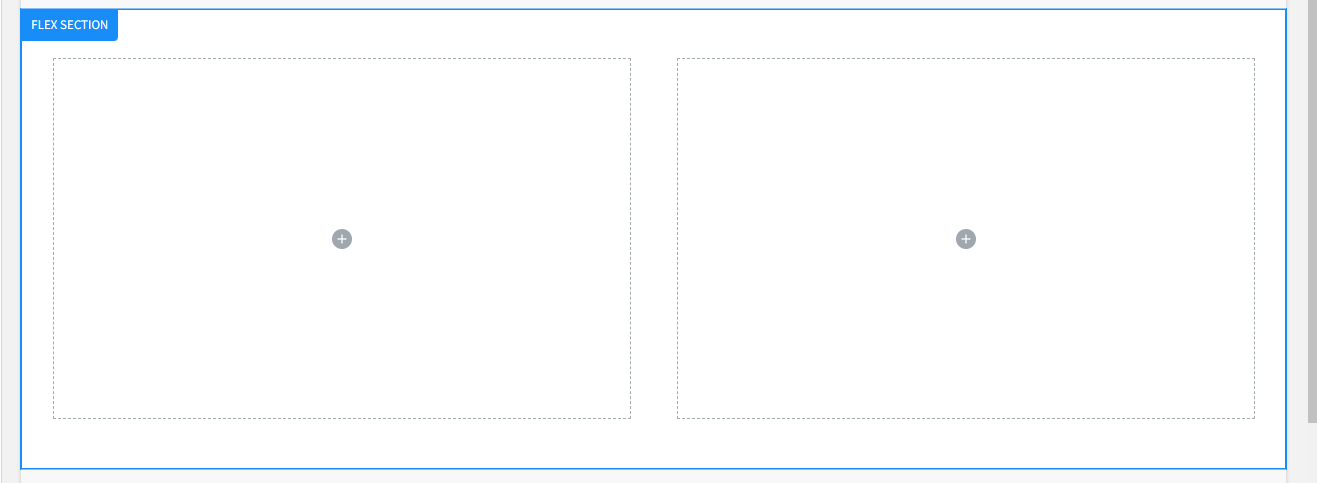
Since you’ll already have graphics ready to go, you can choose the first option. It’ll look like this:
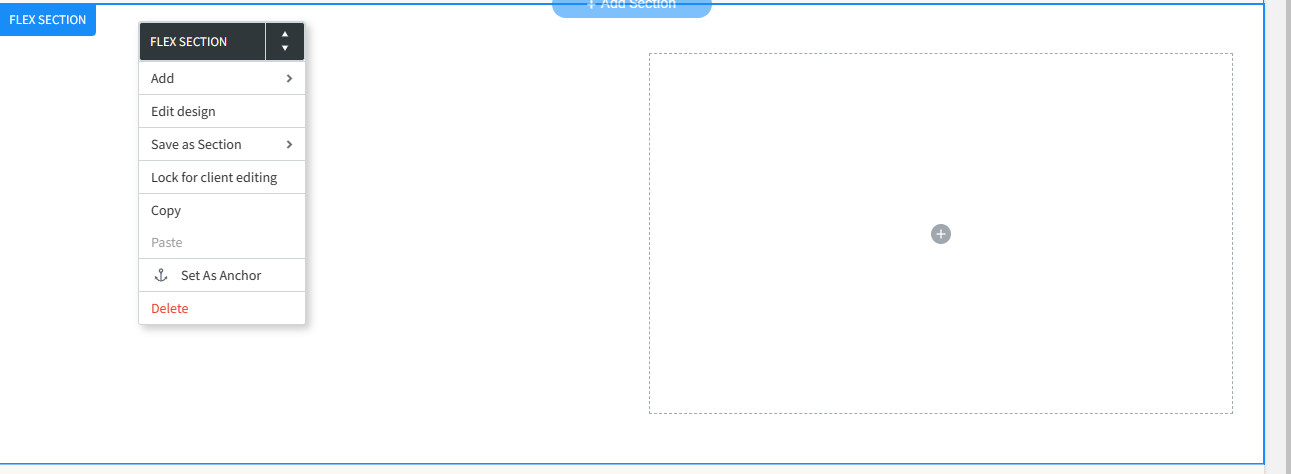
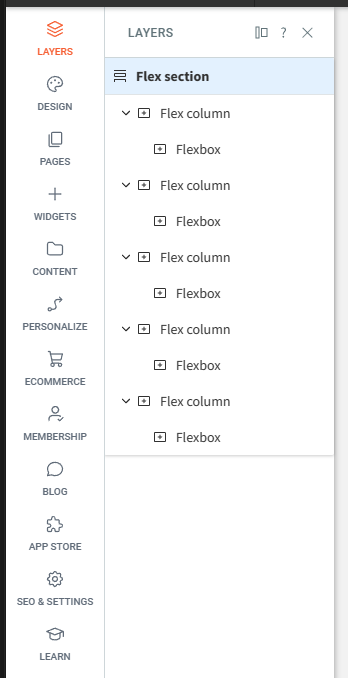
Step 3: Open the Flex section editor.
Right-click on the flexbox container and select "edit design" – it should be the second option on your list.
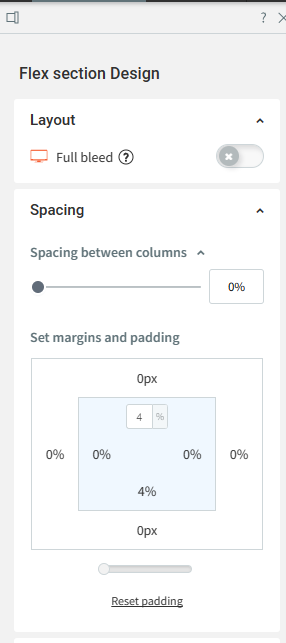
Step 4: Set up your spacing.
On the right-side panel labeled “Flex section Design”, set the "spacing between columns" value to 0%.
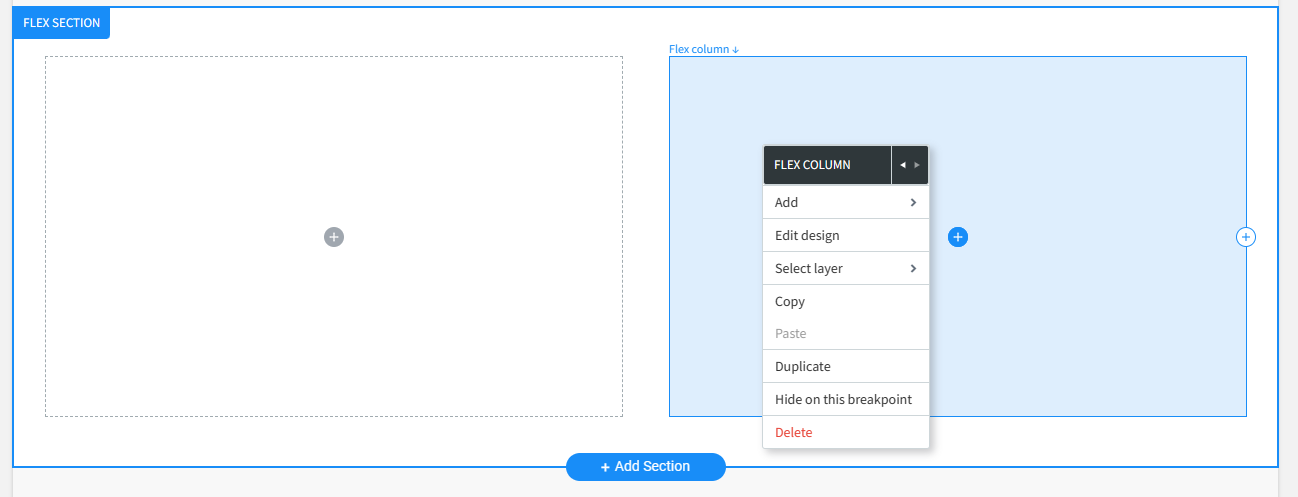
Step 5: Delete the unnecessary extra column.
Since we’ll be building a custom journey here, we’ll be creating each Flex element separately! You won’t need the premade second column, so you can select and delete it.
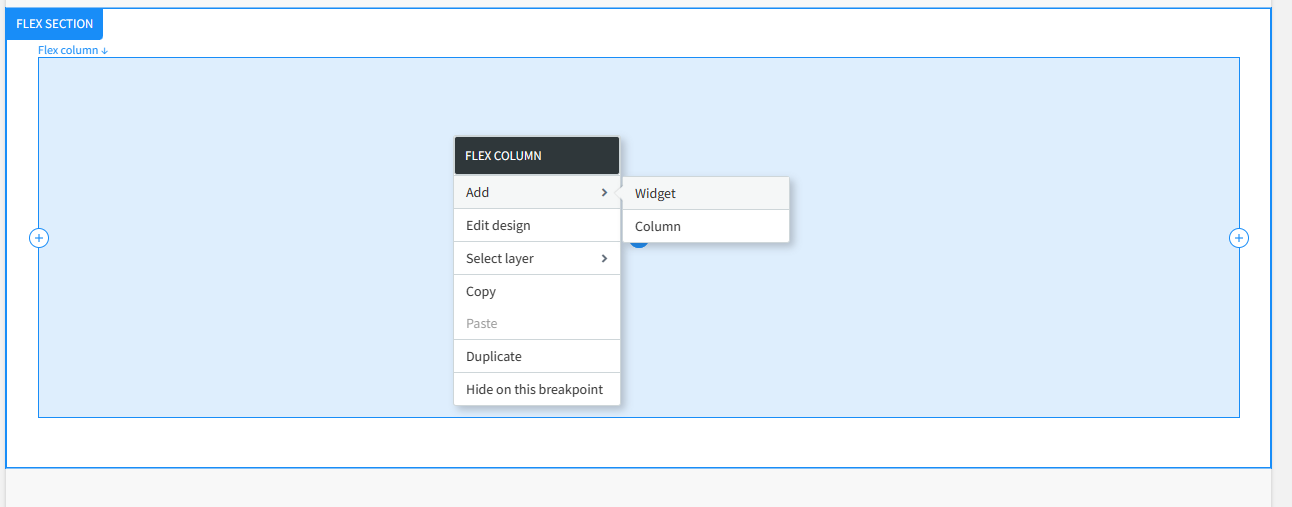
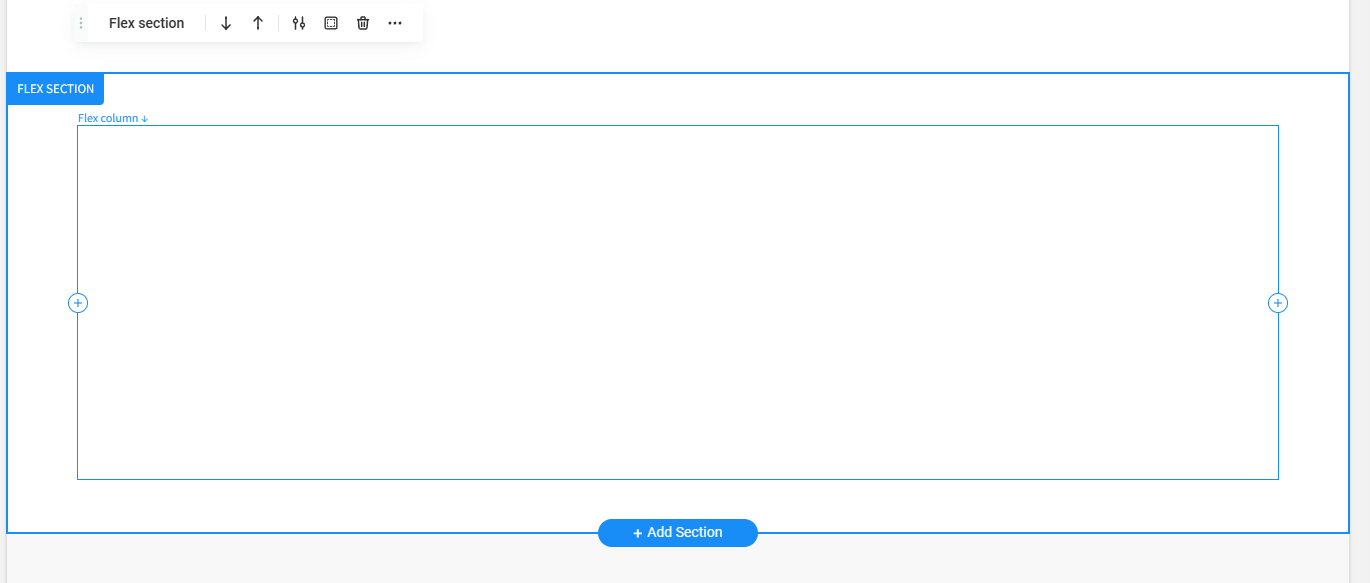
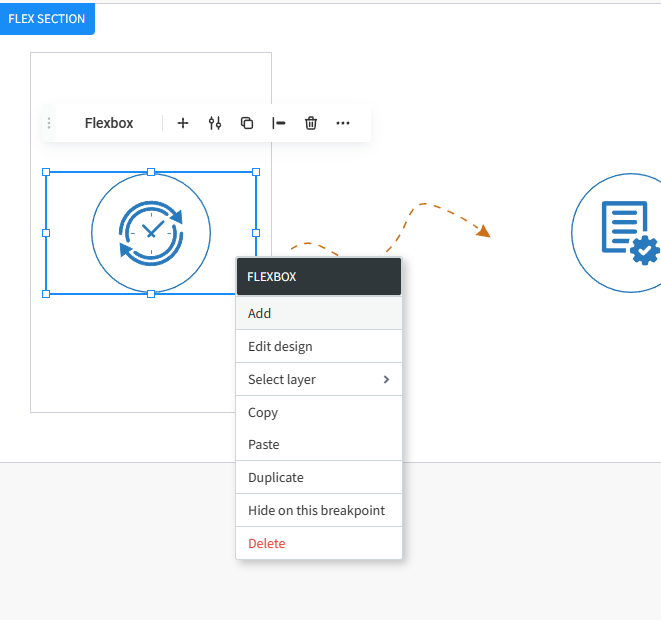
Step 6: Add a widget.
Now that you’re left with only one column, you can right-click to add a widget to it.
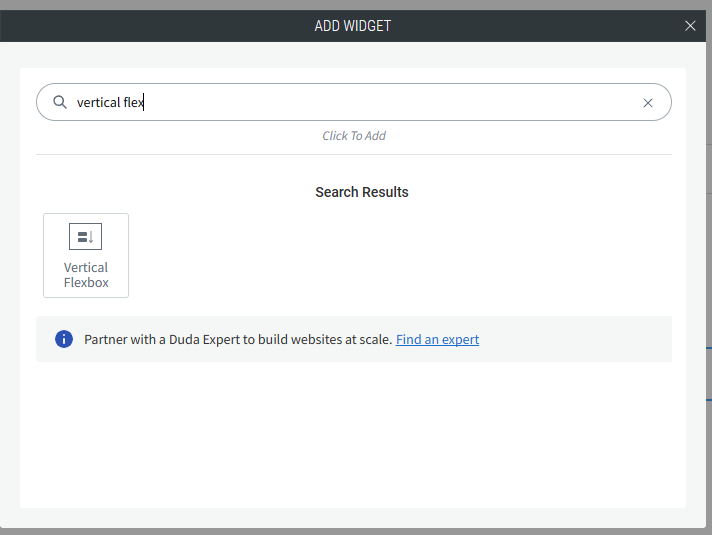
Step 7: Add a vertical flexbox.
Inside your flex column, search for and add the vertical flexbox widget. Note: we added a vertical flexbox inside the column because we want the elements we add (graphics and text) to stack on top of each other. If you want your design to look similar to our finished result, do the same!
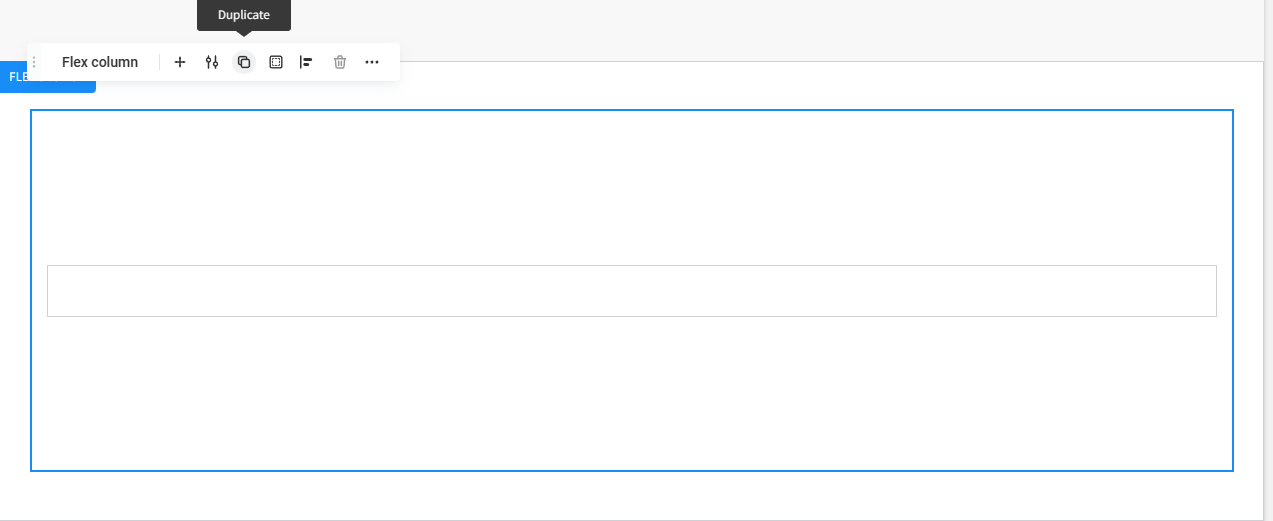
Step 8: Duplicate the column.
Now that we’ve set up our flexbox settings, we want to duplicate the column to hold each of our graphic assets. In this True North example, there will be 5 sections, so we’ll duplicate the column 4 times. To do this, we’ll hover and click on the flex column.
When the floating toolbar appears, we’ll click duplicate — and we’ll repeat this process 3 more times until we have 5 total columns.
Note that the column will be duplicated horizontally!
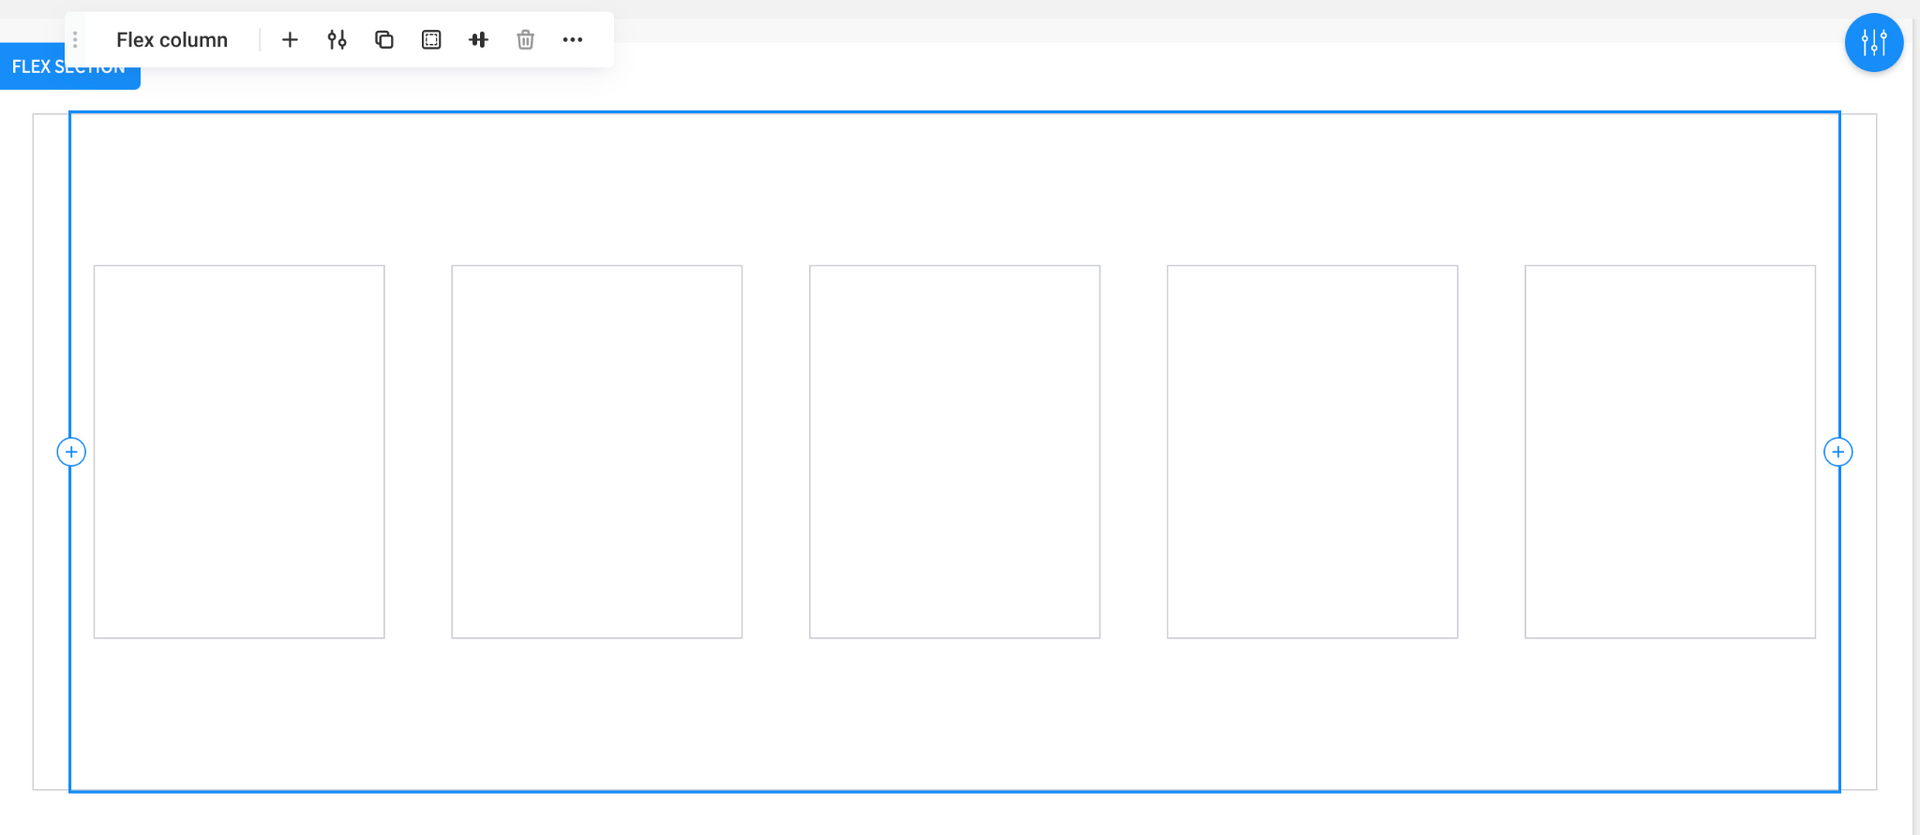
Step 9: Confirm that you have the right number of columns.
In this example, we’ve got all 5!
Step 10: Add an image element.
Add an image element to the first flexbox.
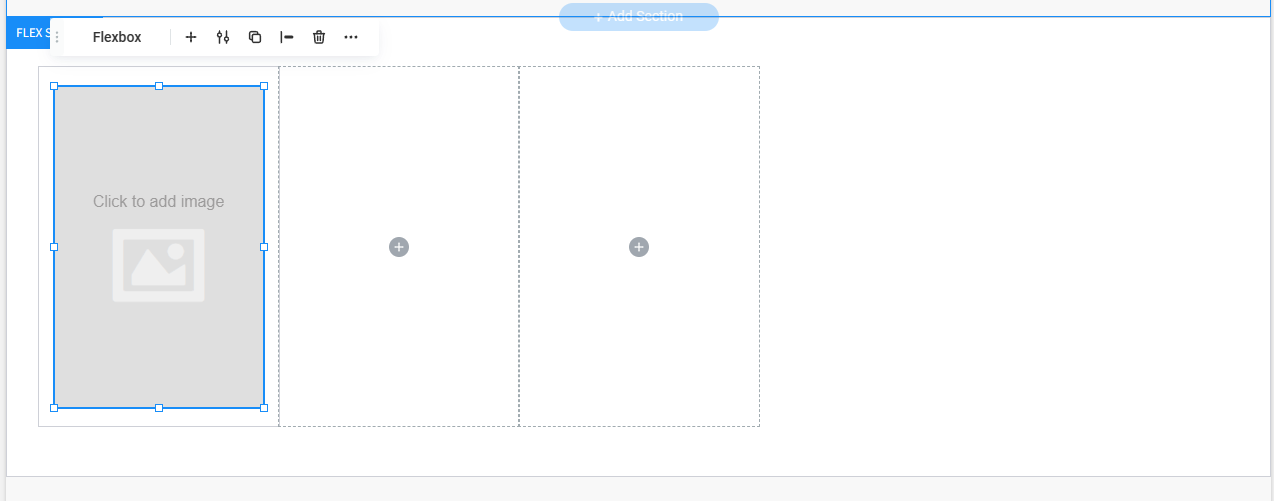
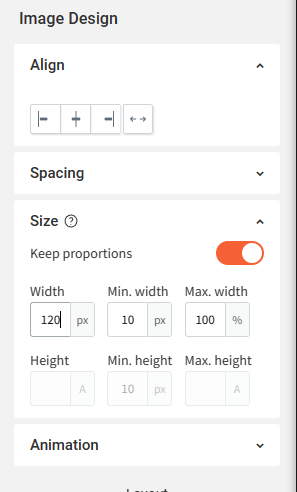
Step 11: Set the image width.
Since we’ll be copying these settings to all 5 flexboxes, we’re setting the image width now for continuity!
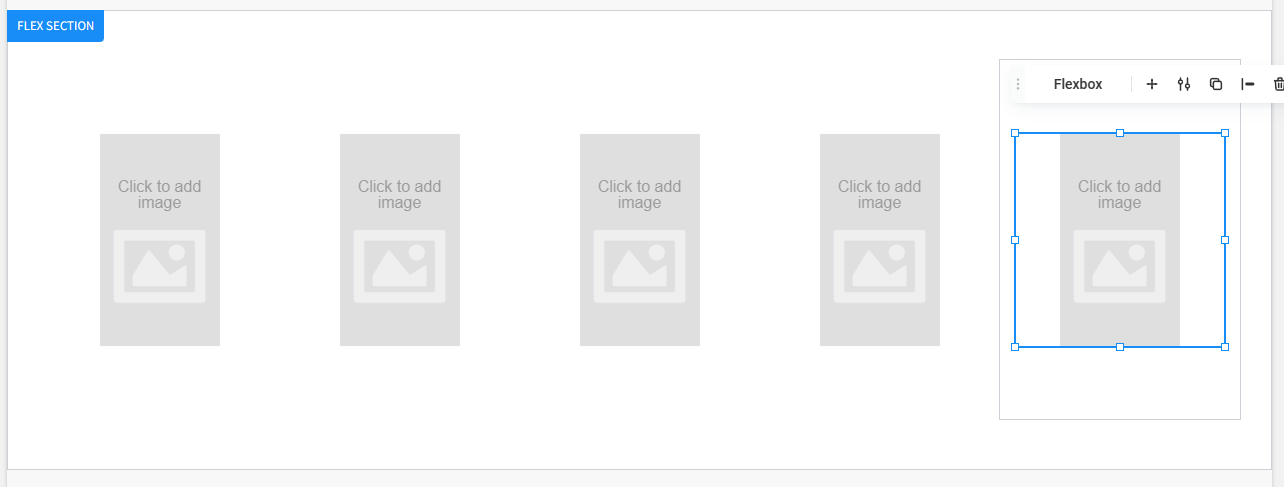
Step 12: Copy and paste the image element.
Copy your element and paste it to all 5 columns.

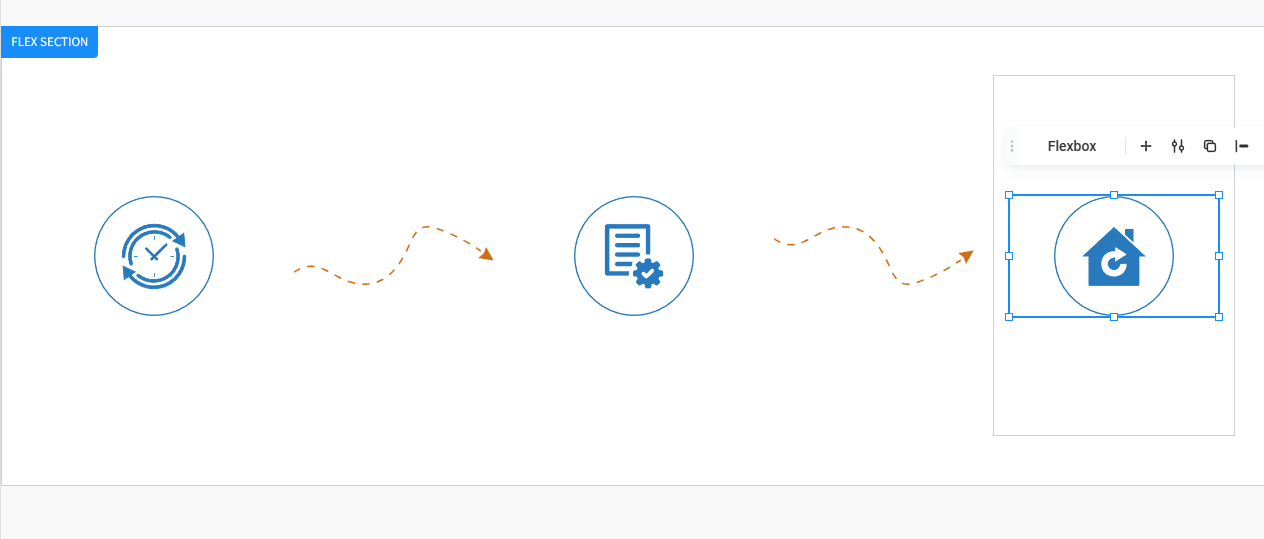
Once completed, it should look like this:
Step 13: Add your graphics.
Drop in your custom graphics or images.
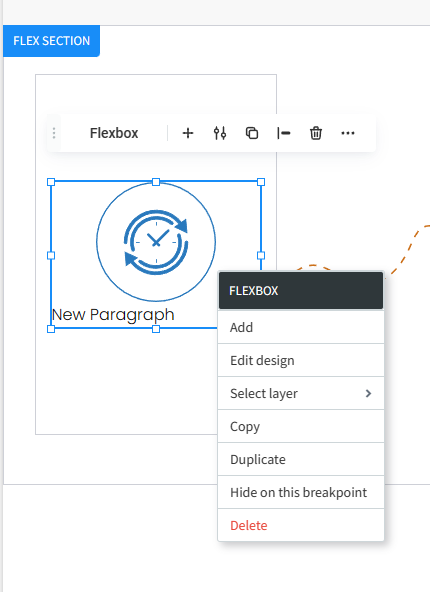
Step 14: Add text.
Select the first flexbox, add a new text element, and customize your text.
It should look like this:

But if your text stacks horizontally instead, like this:

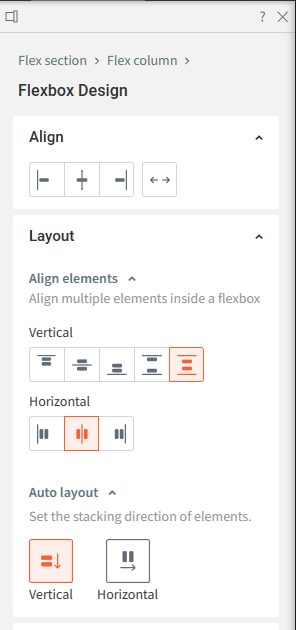
Don’t worry! It’s an easy fix. Just select and right-click the flexbox container and edit the design.
Open your flexbox design panel and select vertical instead of horizontal.
Step 15: Add text to your remaining columns.
In this example, we only needed to add text to 3 of the 5 columns, since the other 2 are just arrow graphics. In any case, once you’ve finished adding your custom text, you’re ready to publish! This journey or process section has countless uses, and it adds visual interest and important customer info at once.