Duda Tip: No Code Element Highlight Using Personalization
With Duda, extending the functionality of your website through custom coding and design doesn’t have to be complicated. In this use case, Westminster Vision wanted to offer potential patients a simple way to see when they should stop in for an appointment. This meant creating a schedule that showed website visitors when they were open on the day of the week those visitors were actually checking their site.
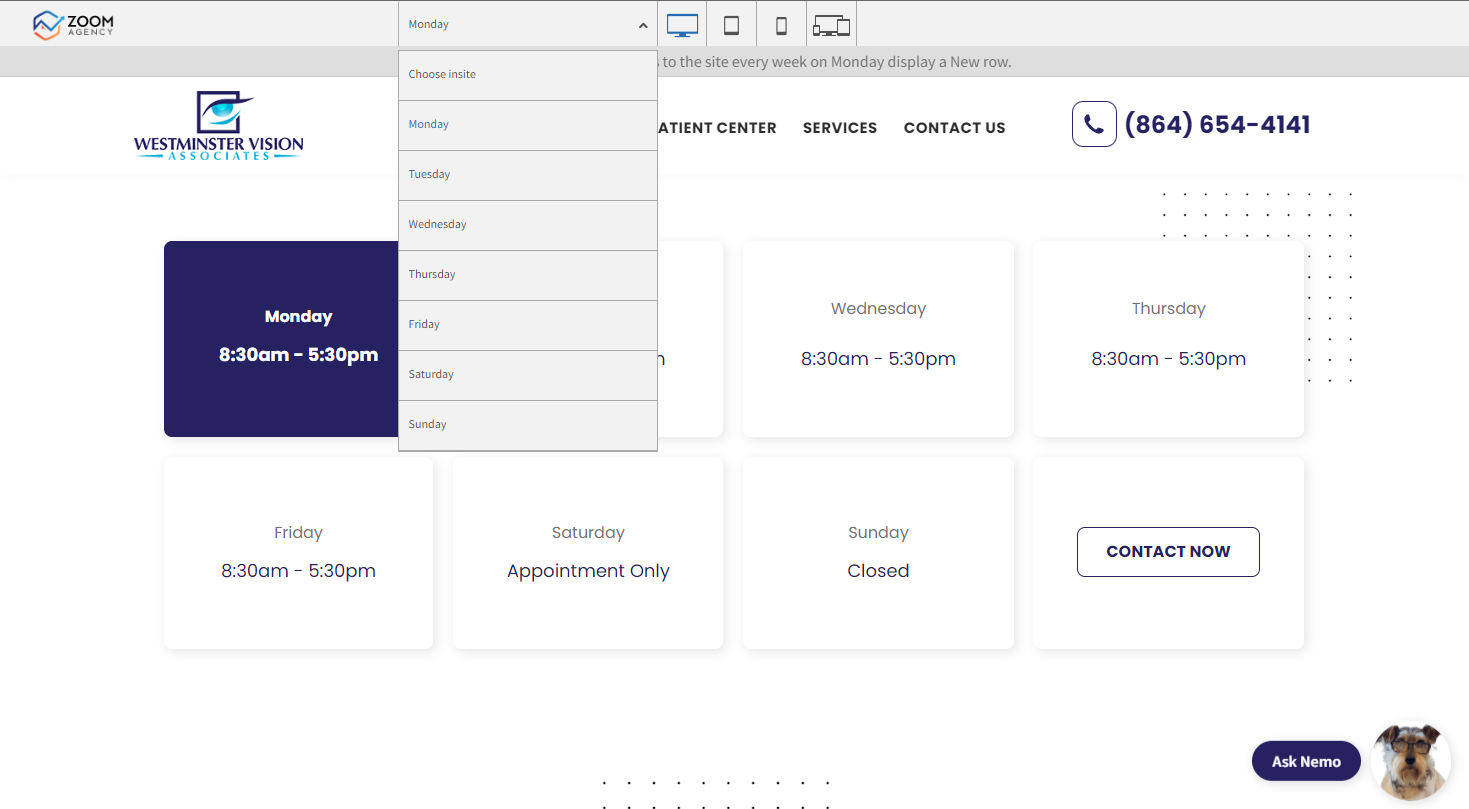
By highlighting “today’s” hours, potential and existing patients have an easy and accessible way to find updated hours right on Westminster Vision’s home page. Here’s how the customized schedule looks on their site after being implemented:

City skyline
This Duda Tip, built on Duda Personalization functionality, is an easy upgrade for any business with standard operating hours. By clearly highlighting hours on any given day, you’ll allow potential customers to see exactly what time they should stop by today instead of scrolling to an easily-missed footer menu. Want to put this schedule highlight to work for you? Here’s how to recreate it on your own site.
Step 1: Navigate to personalization, and create a blank row.
For this example, we’ll use Monday to create a rule. Go ahead and set the date to the next upcoming Monday, and make sure to check the “all day” box.

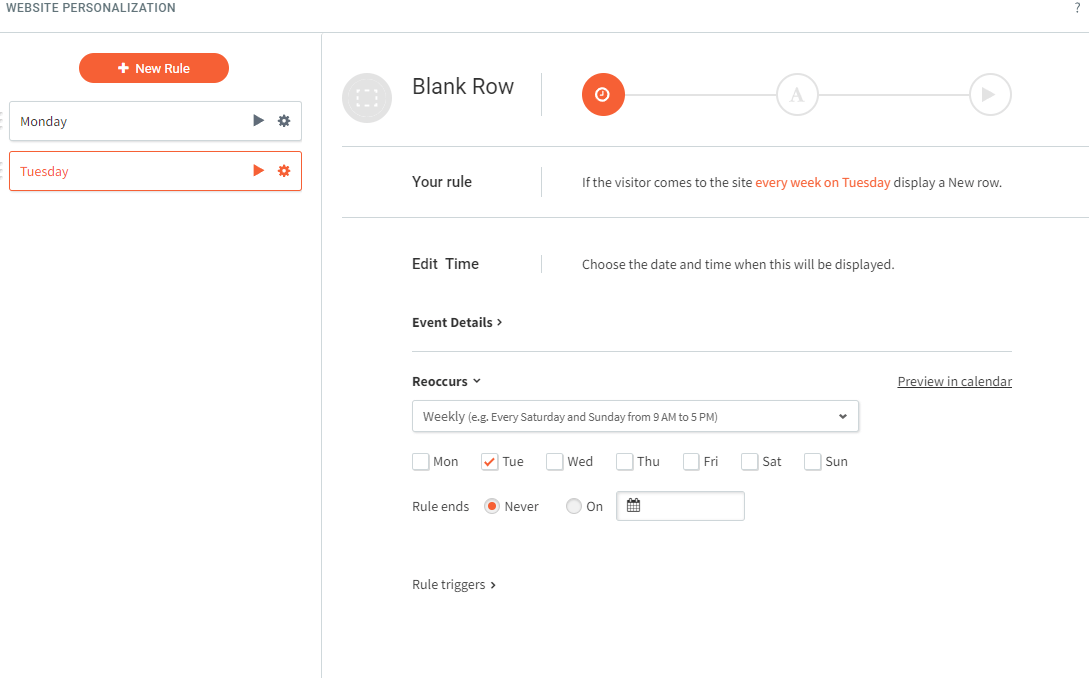
Step 2: Customize the rule.
Set the rule to say, “If this user comes to the site every week on Monday, display a new row.” After the rule is in place, make sure it’s set to recur each week, triggered by time.
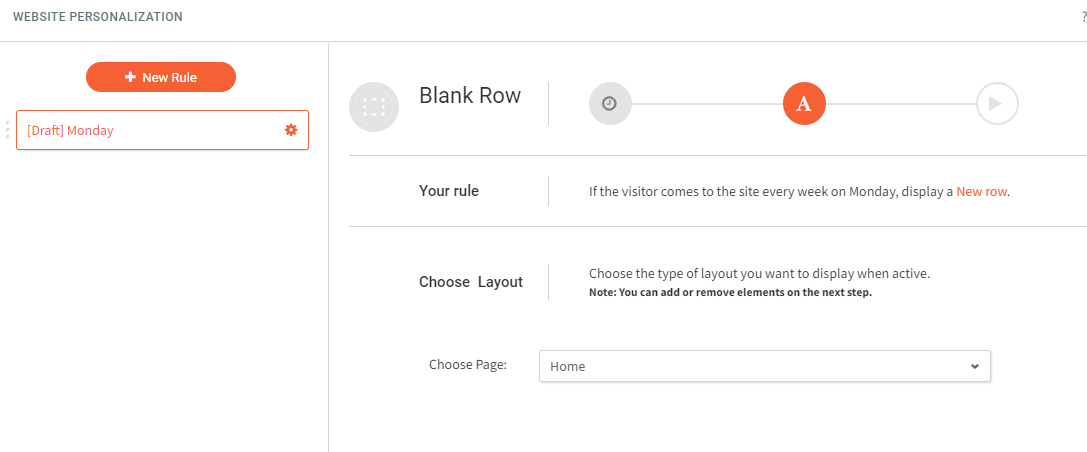

Step 4: Choose your layout.
For this example, we’re making sure this schedule element shows up right on the homepage.
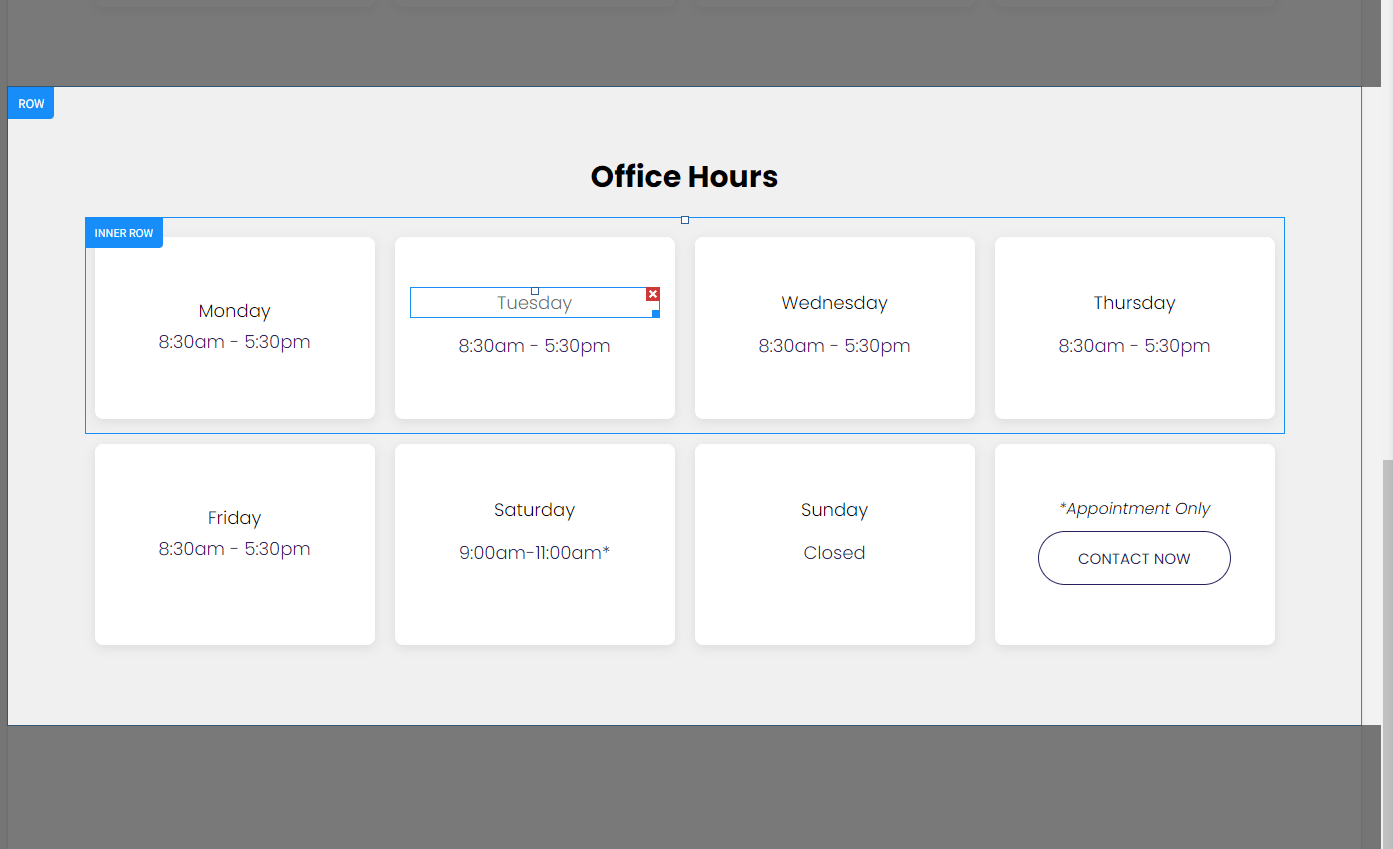
Step 5: Create a design.
Fill in your template with the operating hours for each day and save. In this case, we’re creating two rows of four columns to cover all seven days plus a call to action. This will help as we duplicate later on.
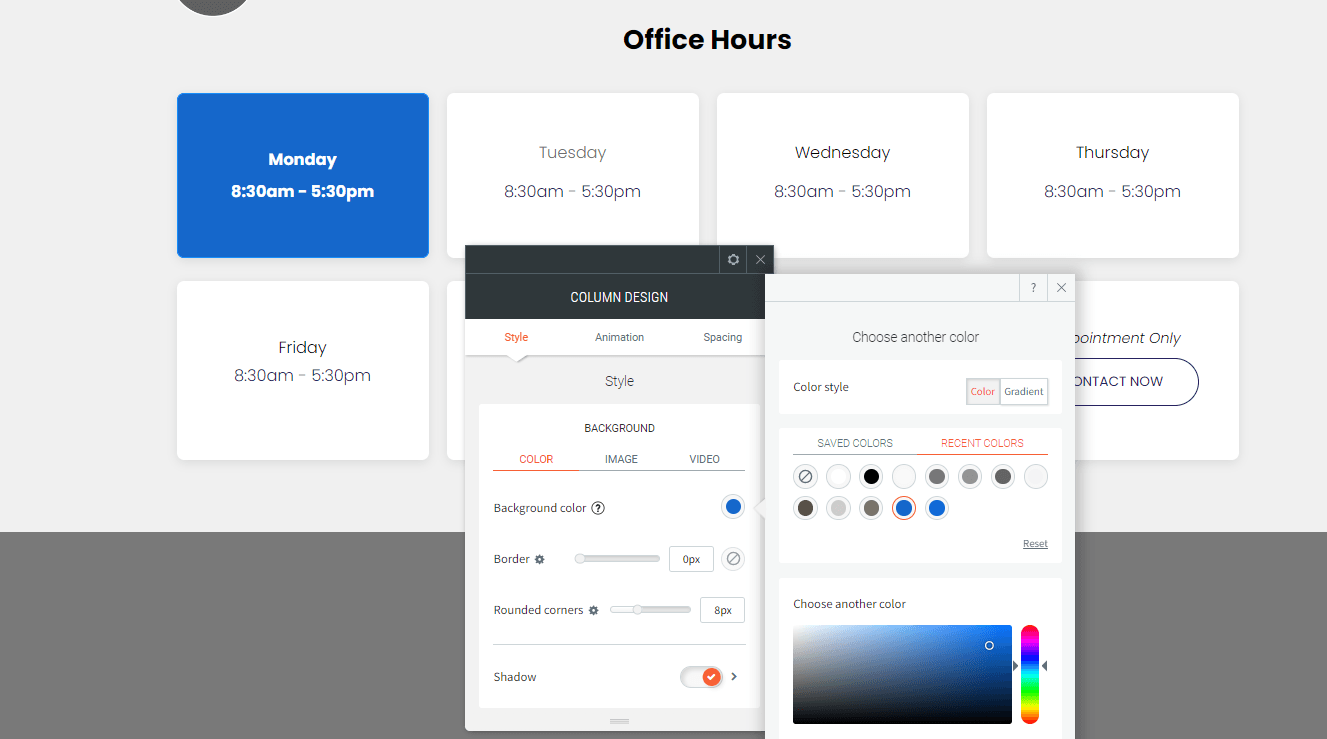
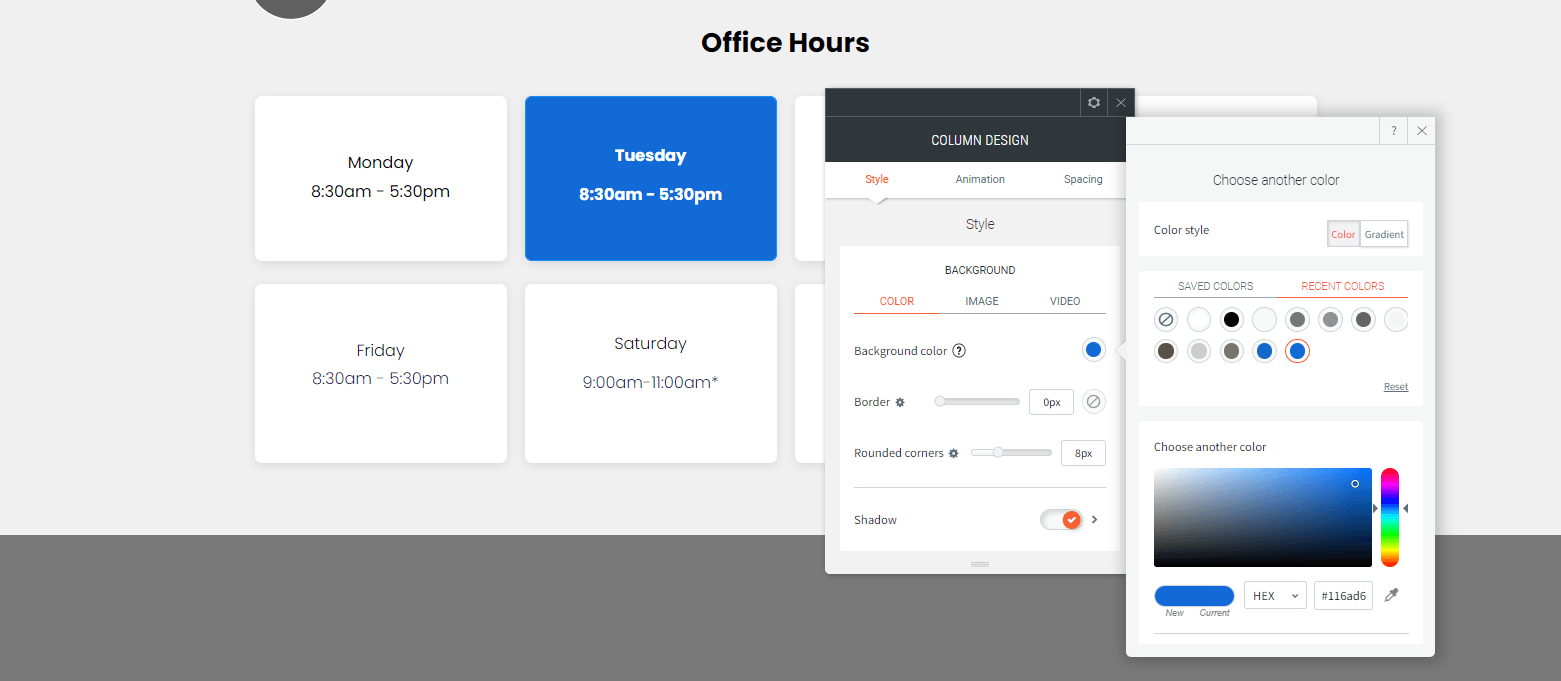
Step 6: Attach the rule to the corresponding day.
Since this is our Monday rule, we’ll highlight the Monday block in our new design. Choose a color from your brand to give the calendar a cohesive look on the site. Once this is done, you can exit the personalization editor.
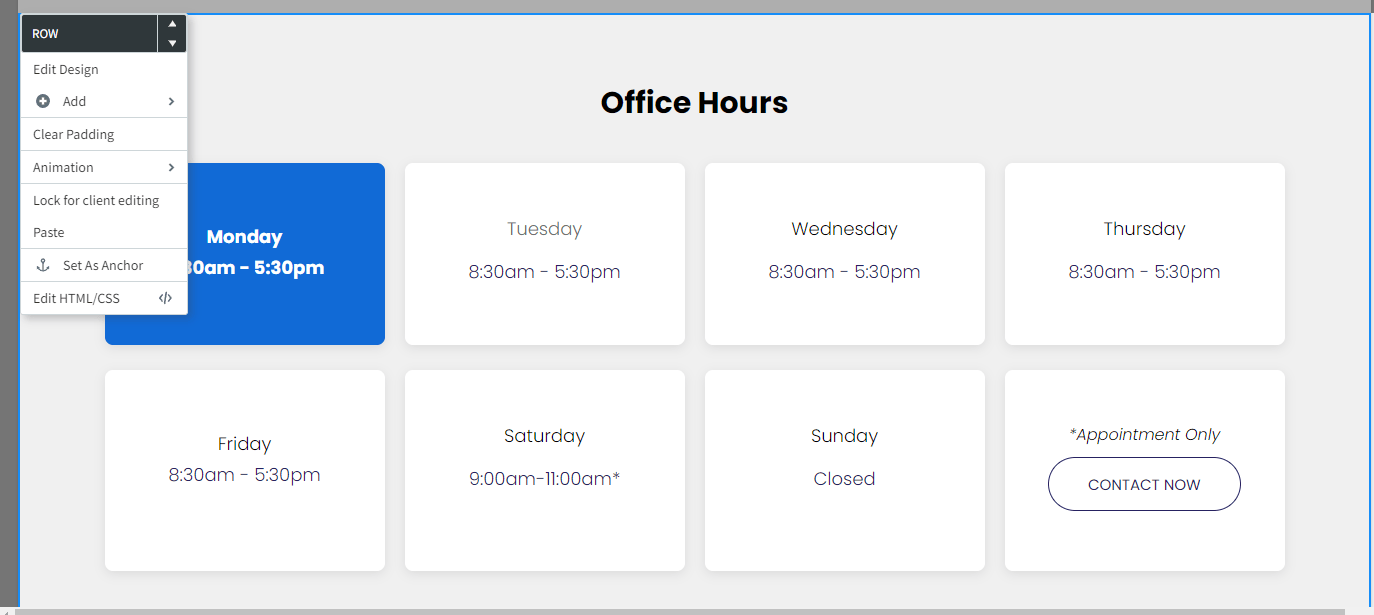
Step 7: Position the section.
Note that your personalizations won’t show in the main editor menu, but as long as you’ve saved them, they’re still there and good to go!
Step 8: Activate the rule and duplicate the process for each day.
Adjust the settings as needed for Tuesday, Wednesday, and so on.
Step 9: Check your trigger conditions.
It never hurts to double check, making sure that each rule is linked to the right day in your design.
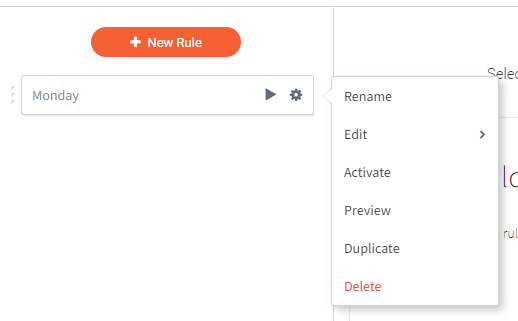
Step 10: Use the personalization editor to highlight the correct day.
This highlight and color selection will need to be repeated in the personalization editor for each day of the week.
Step 11: Preview your work.
To make sure your new tool is functioning correctly, enter preview mode and test the rule.
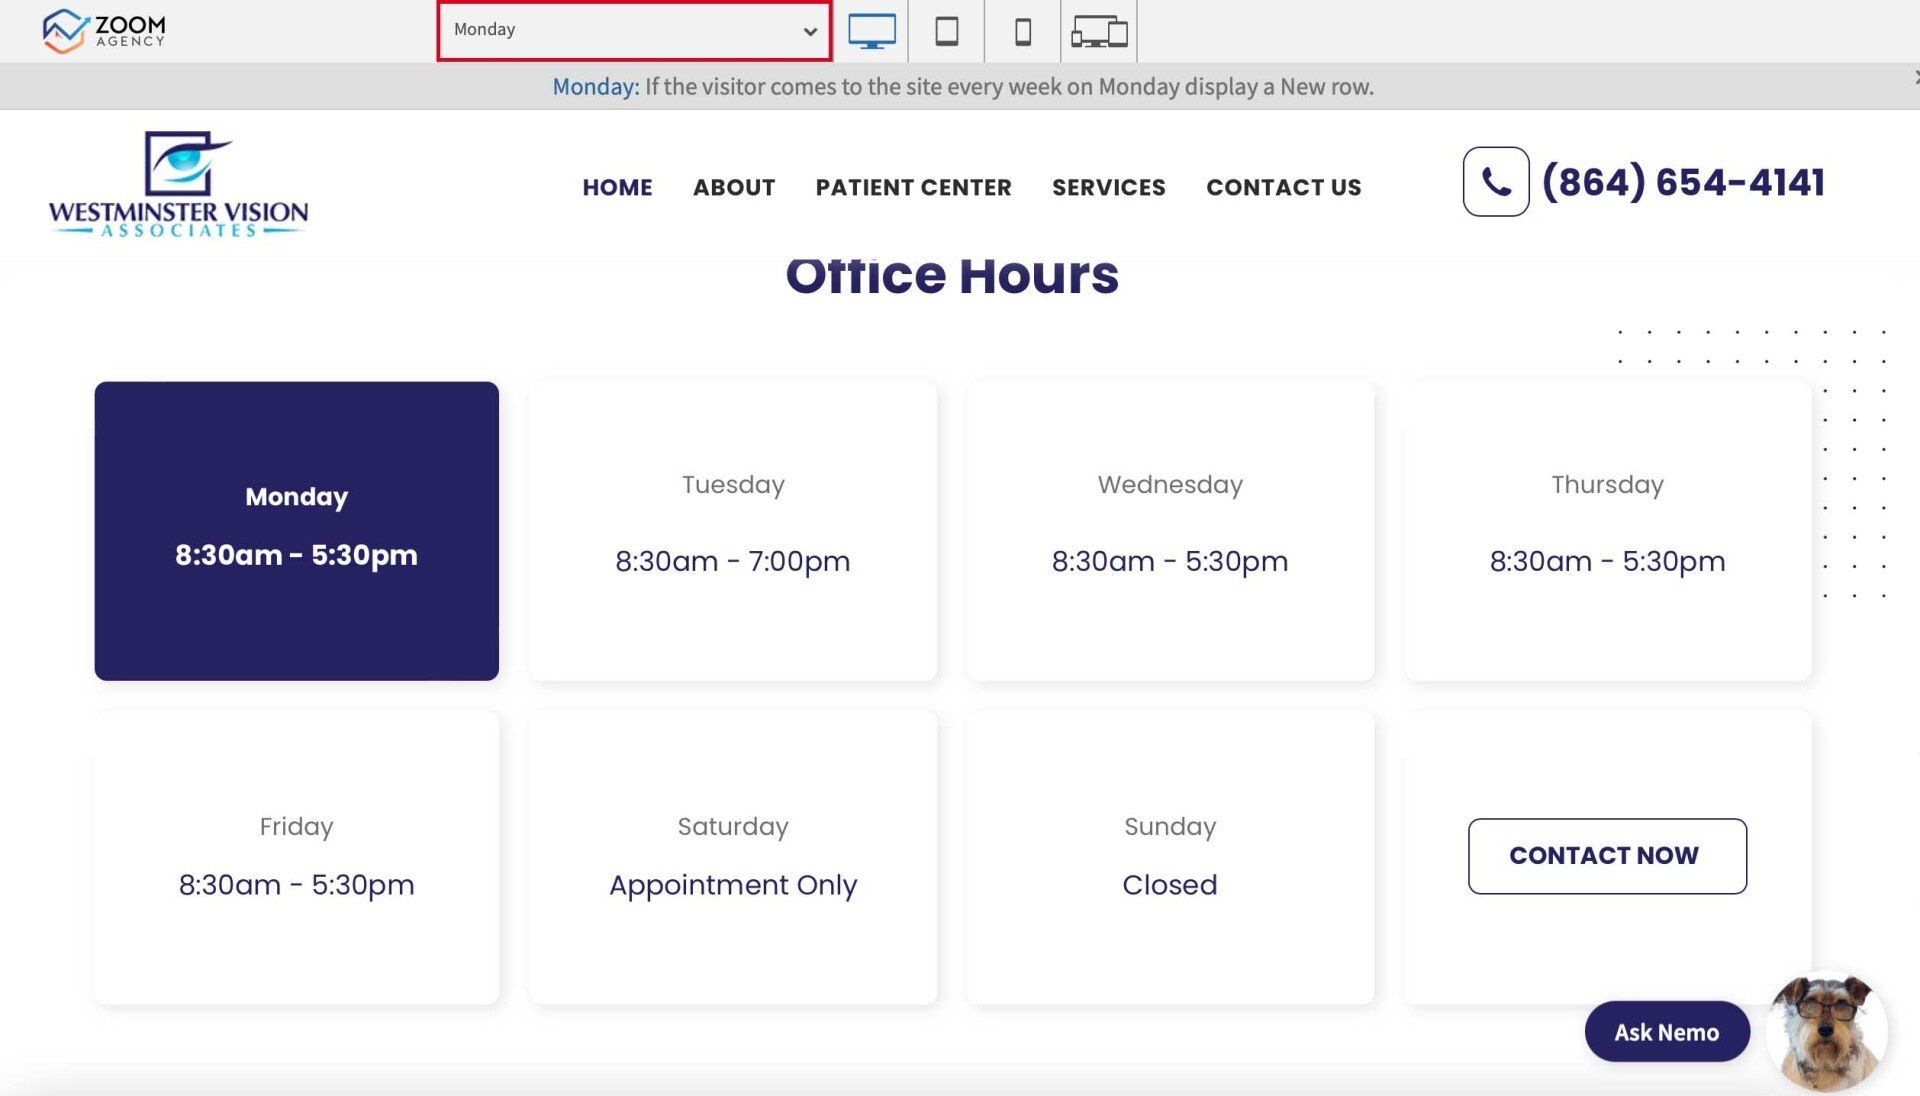
If everything is done correctly, you’ll see the corresponding day highlighted.
Congratulations
– your site has a schedule that’s easily accessible and easy to read, giving your clients a great experience every time they check to see when they should stop by your business. Stay tuned for more tips that will transform your Duda site!